Custom Fonts
Adding your own custom icons to your theme development is a straightforward process that can be accomplished in just three easy steps. This will give your theme a more unique and personalized feel. In this article, we will walkthrough how to add icomoon icons.
📙 What you'll learn
- Add
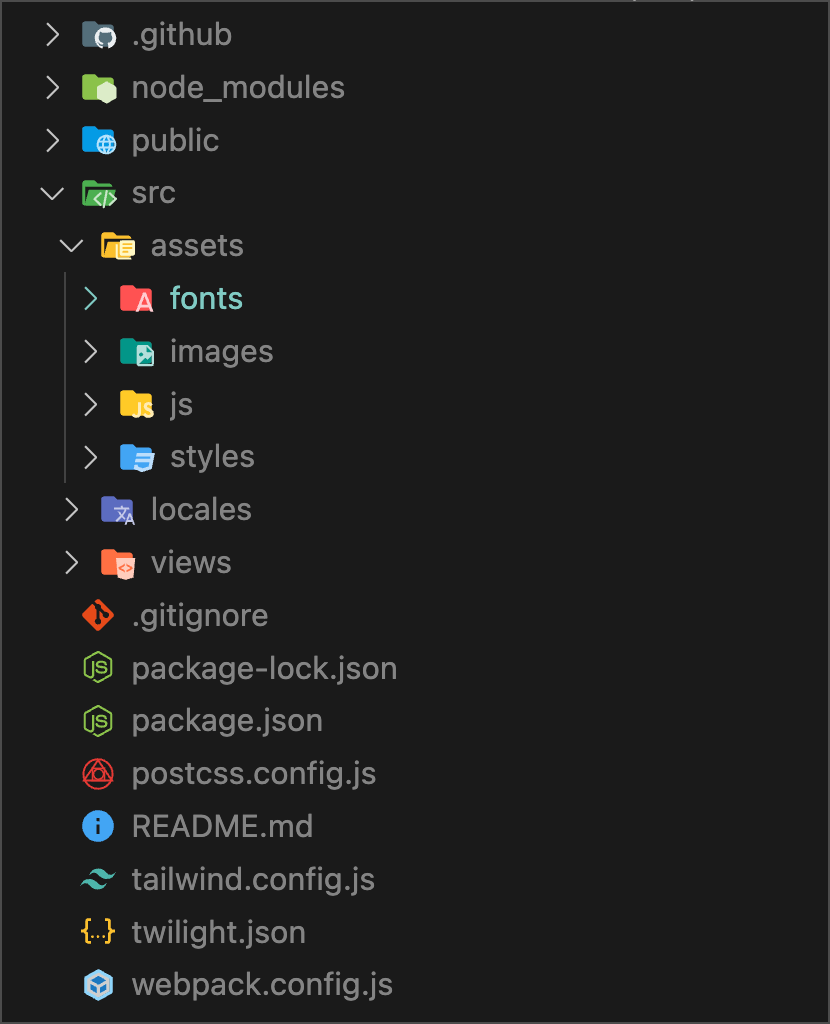
fontsfolder underassets webpack.config.jsModificationmaster.twigModification
assets folder in fonts
A new folder will be created within the assets folder and designated as "fonts."

webpack.config.js Modification
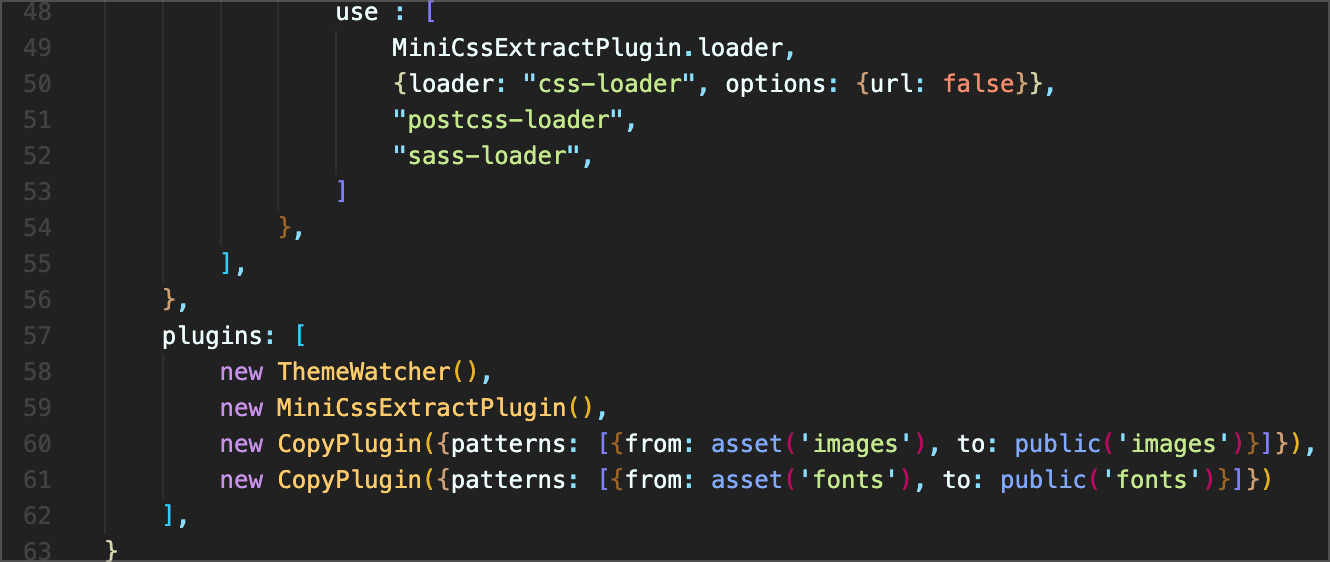
Code addition to the webpack.config.js file will be implemented, in which the following code is placed on line 61 of the file to transfer the fonts folder from assets to public (This is the case if the file has never been altered)
new CopyPlugin({patterns: [{from: asset('fonts'), to: public('fonts')}]})

master.twig Modification
Insert the newly defined font into the <head> section of the master.twig file as follows:
<style>@font-face {

  font-family: 'sallamenuthemeicons';
  src: url({{ 'fonts/themefonticons.ttf' | asset }}) format("truetype"),
  url({{ 'fonts/themefonticons.eot' | asset }}) format("embedded-opentype"),
  url({{'fonts/themefonticons.woff' | asset }}) format("woff");
}

</style>
We will now have established links between the new font files. It will continue to establish a link to the font's CSS file. In order to directly utilize the icon classes, we integrate it within the app.css file.
