
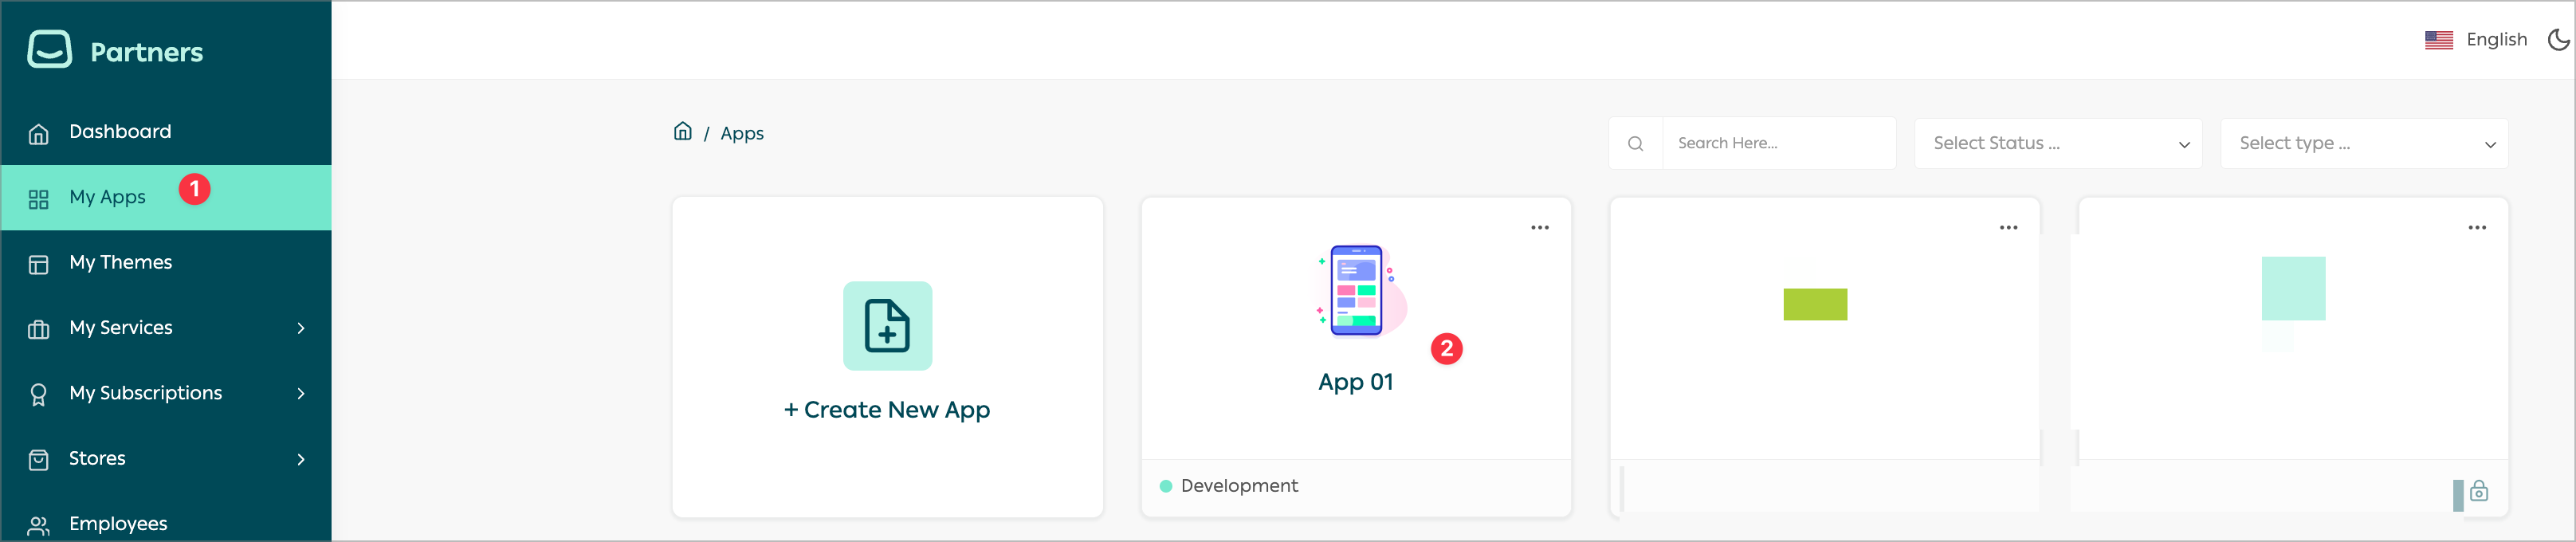
Setup App
📙 What you'll learn:
Setup the Shipping App
Alert
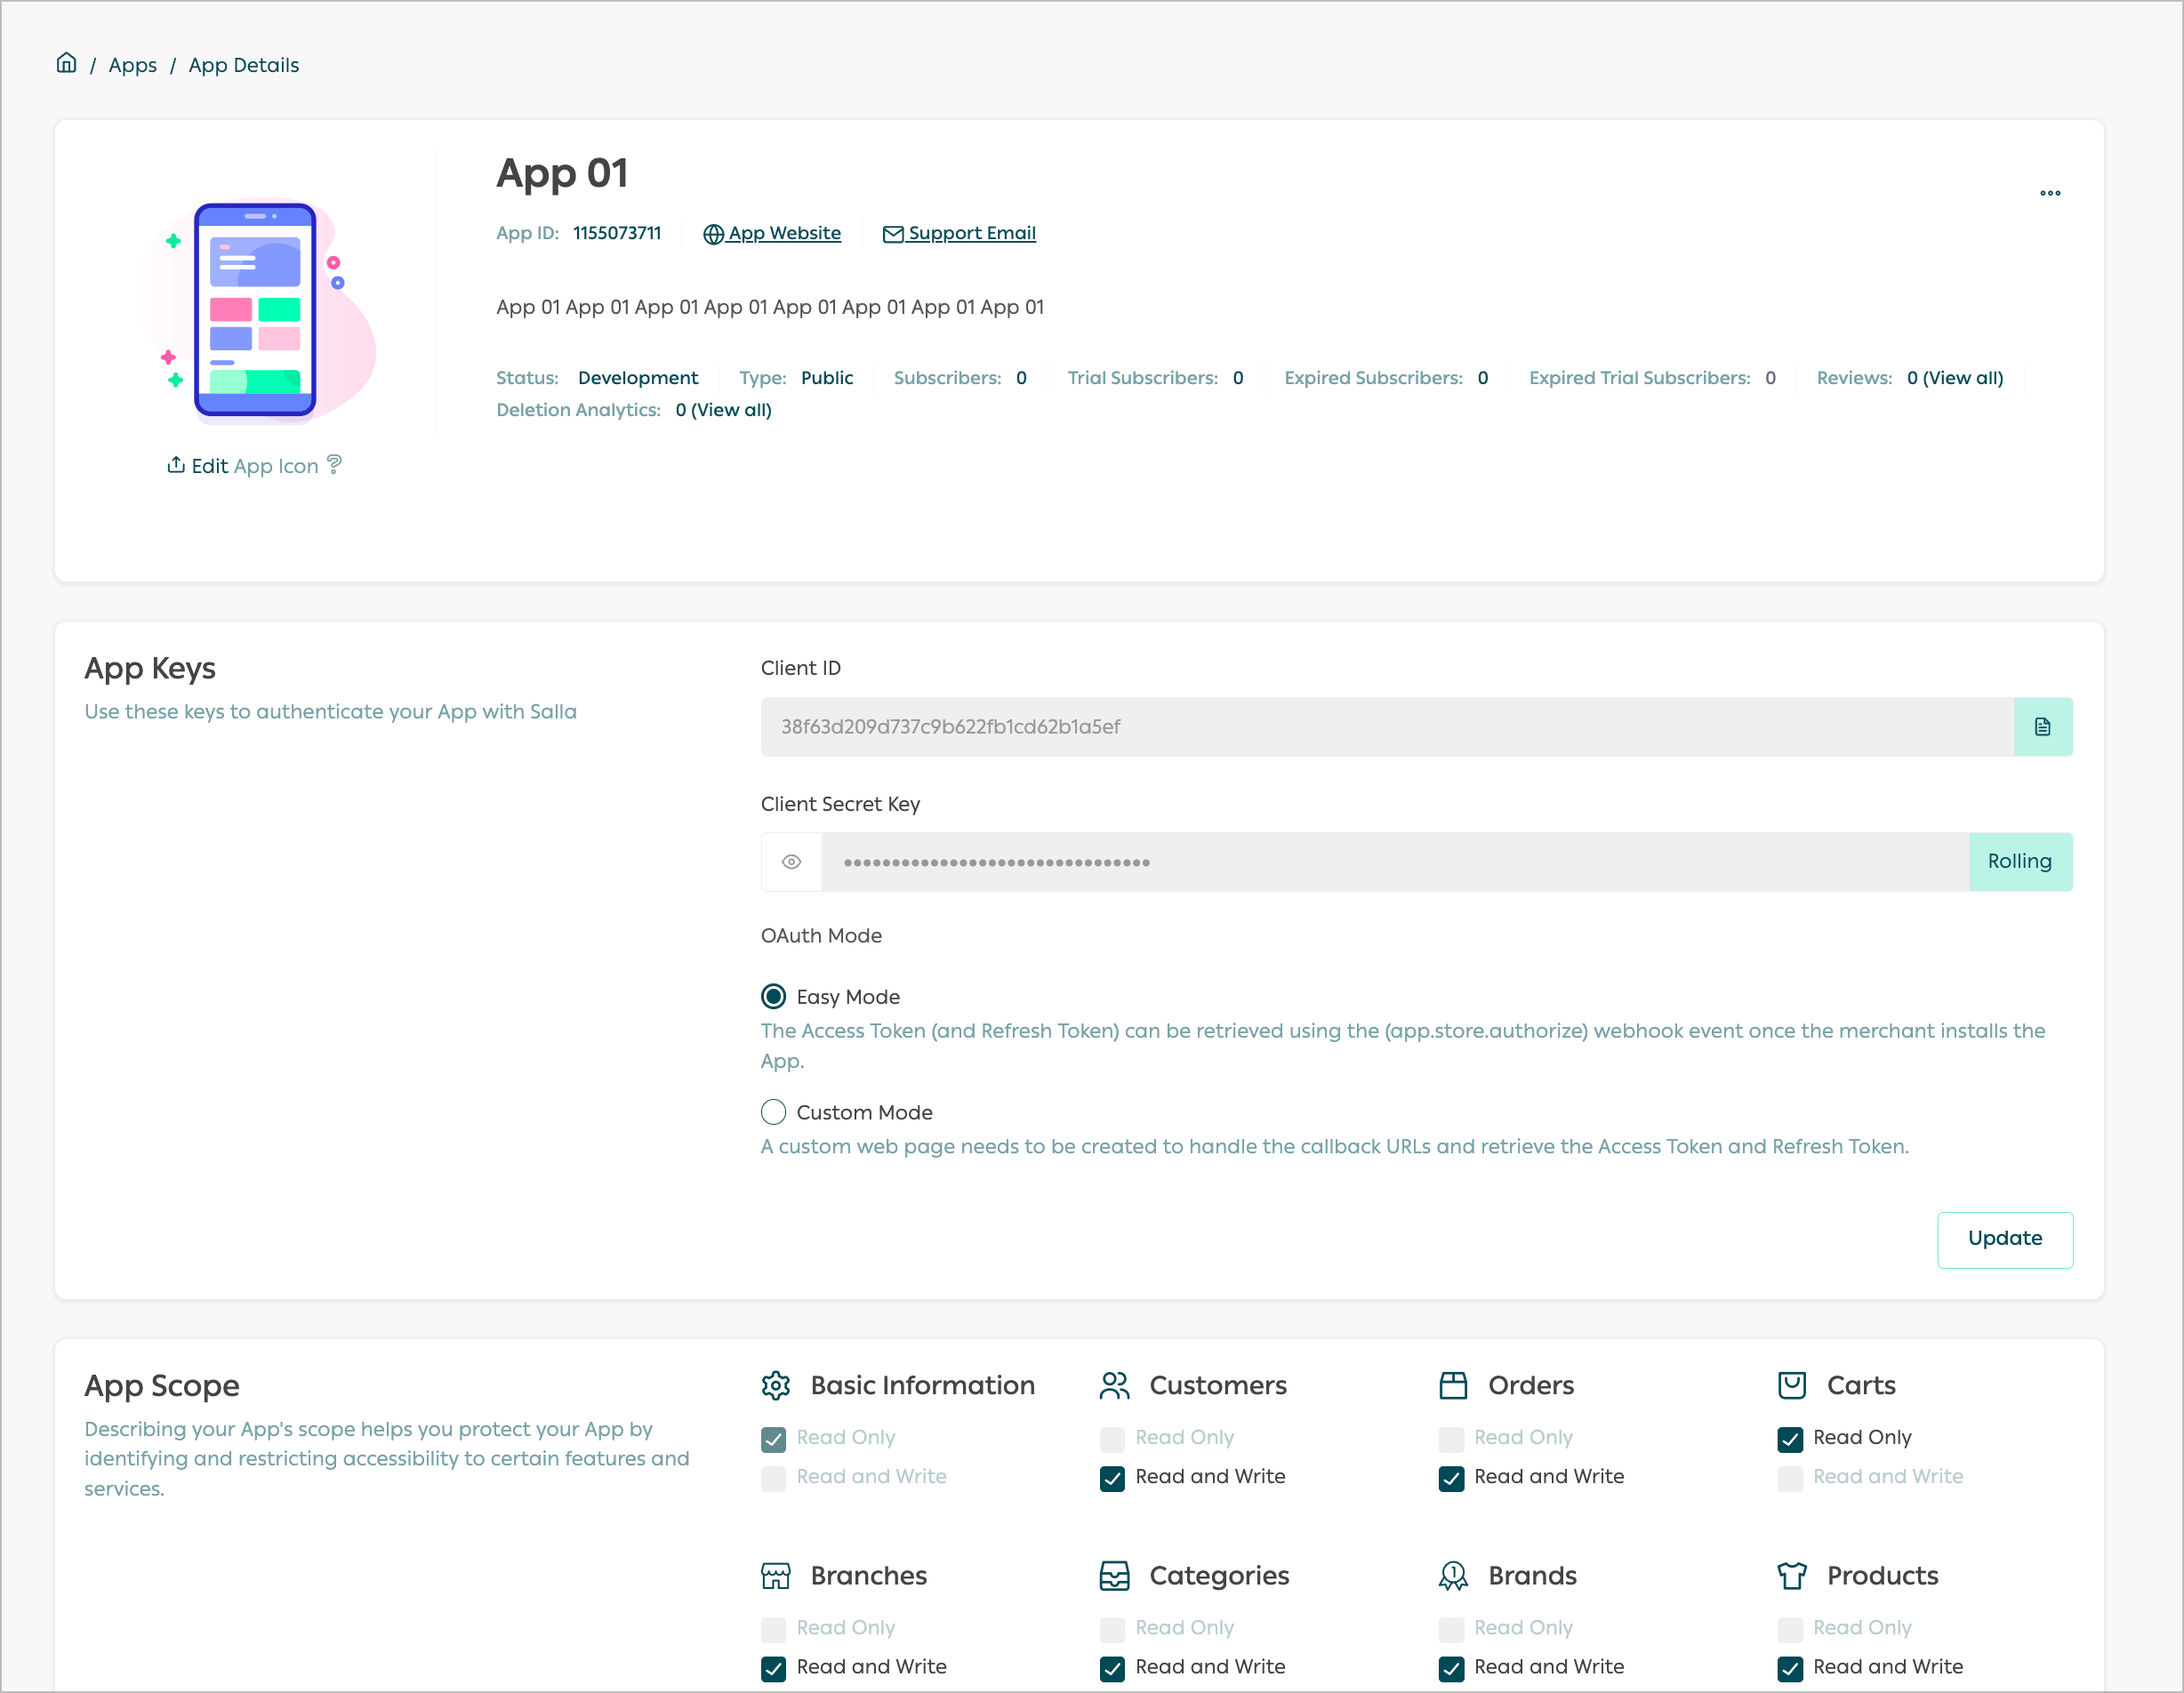
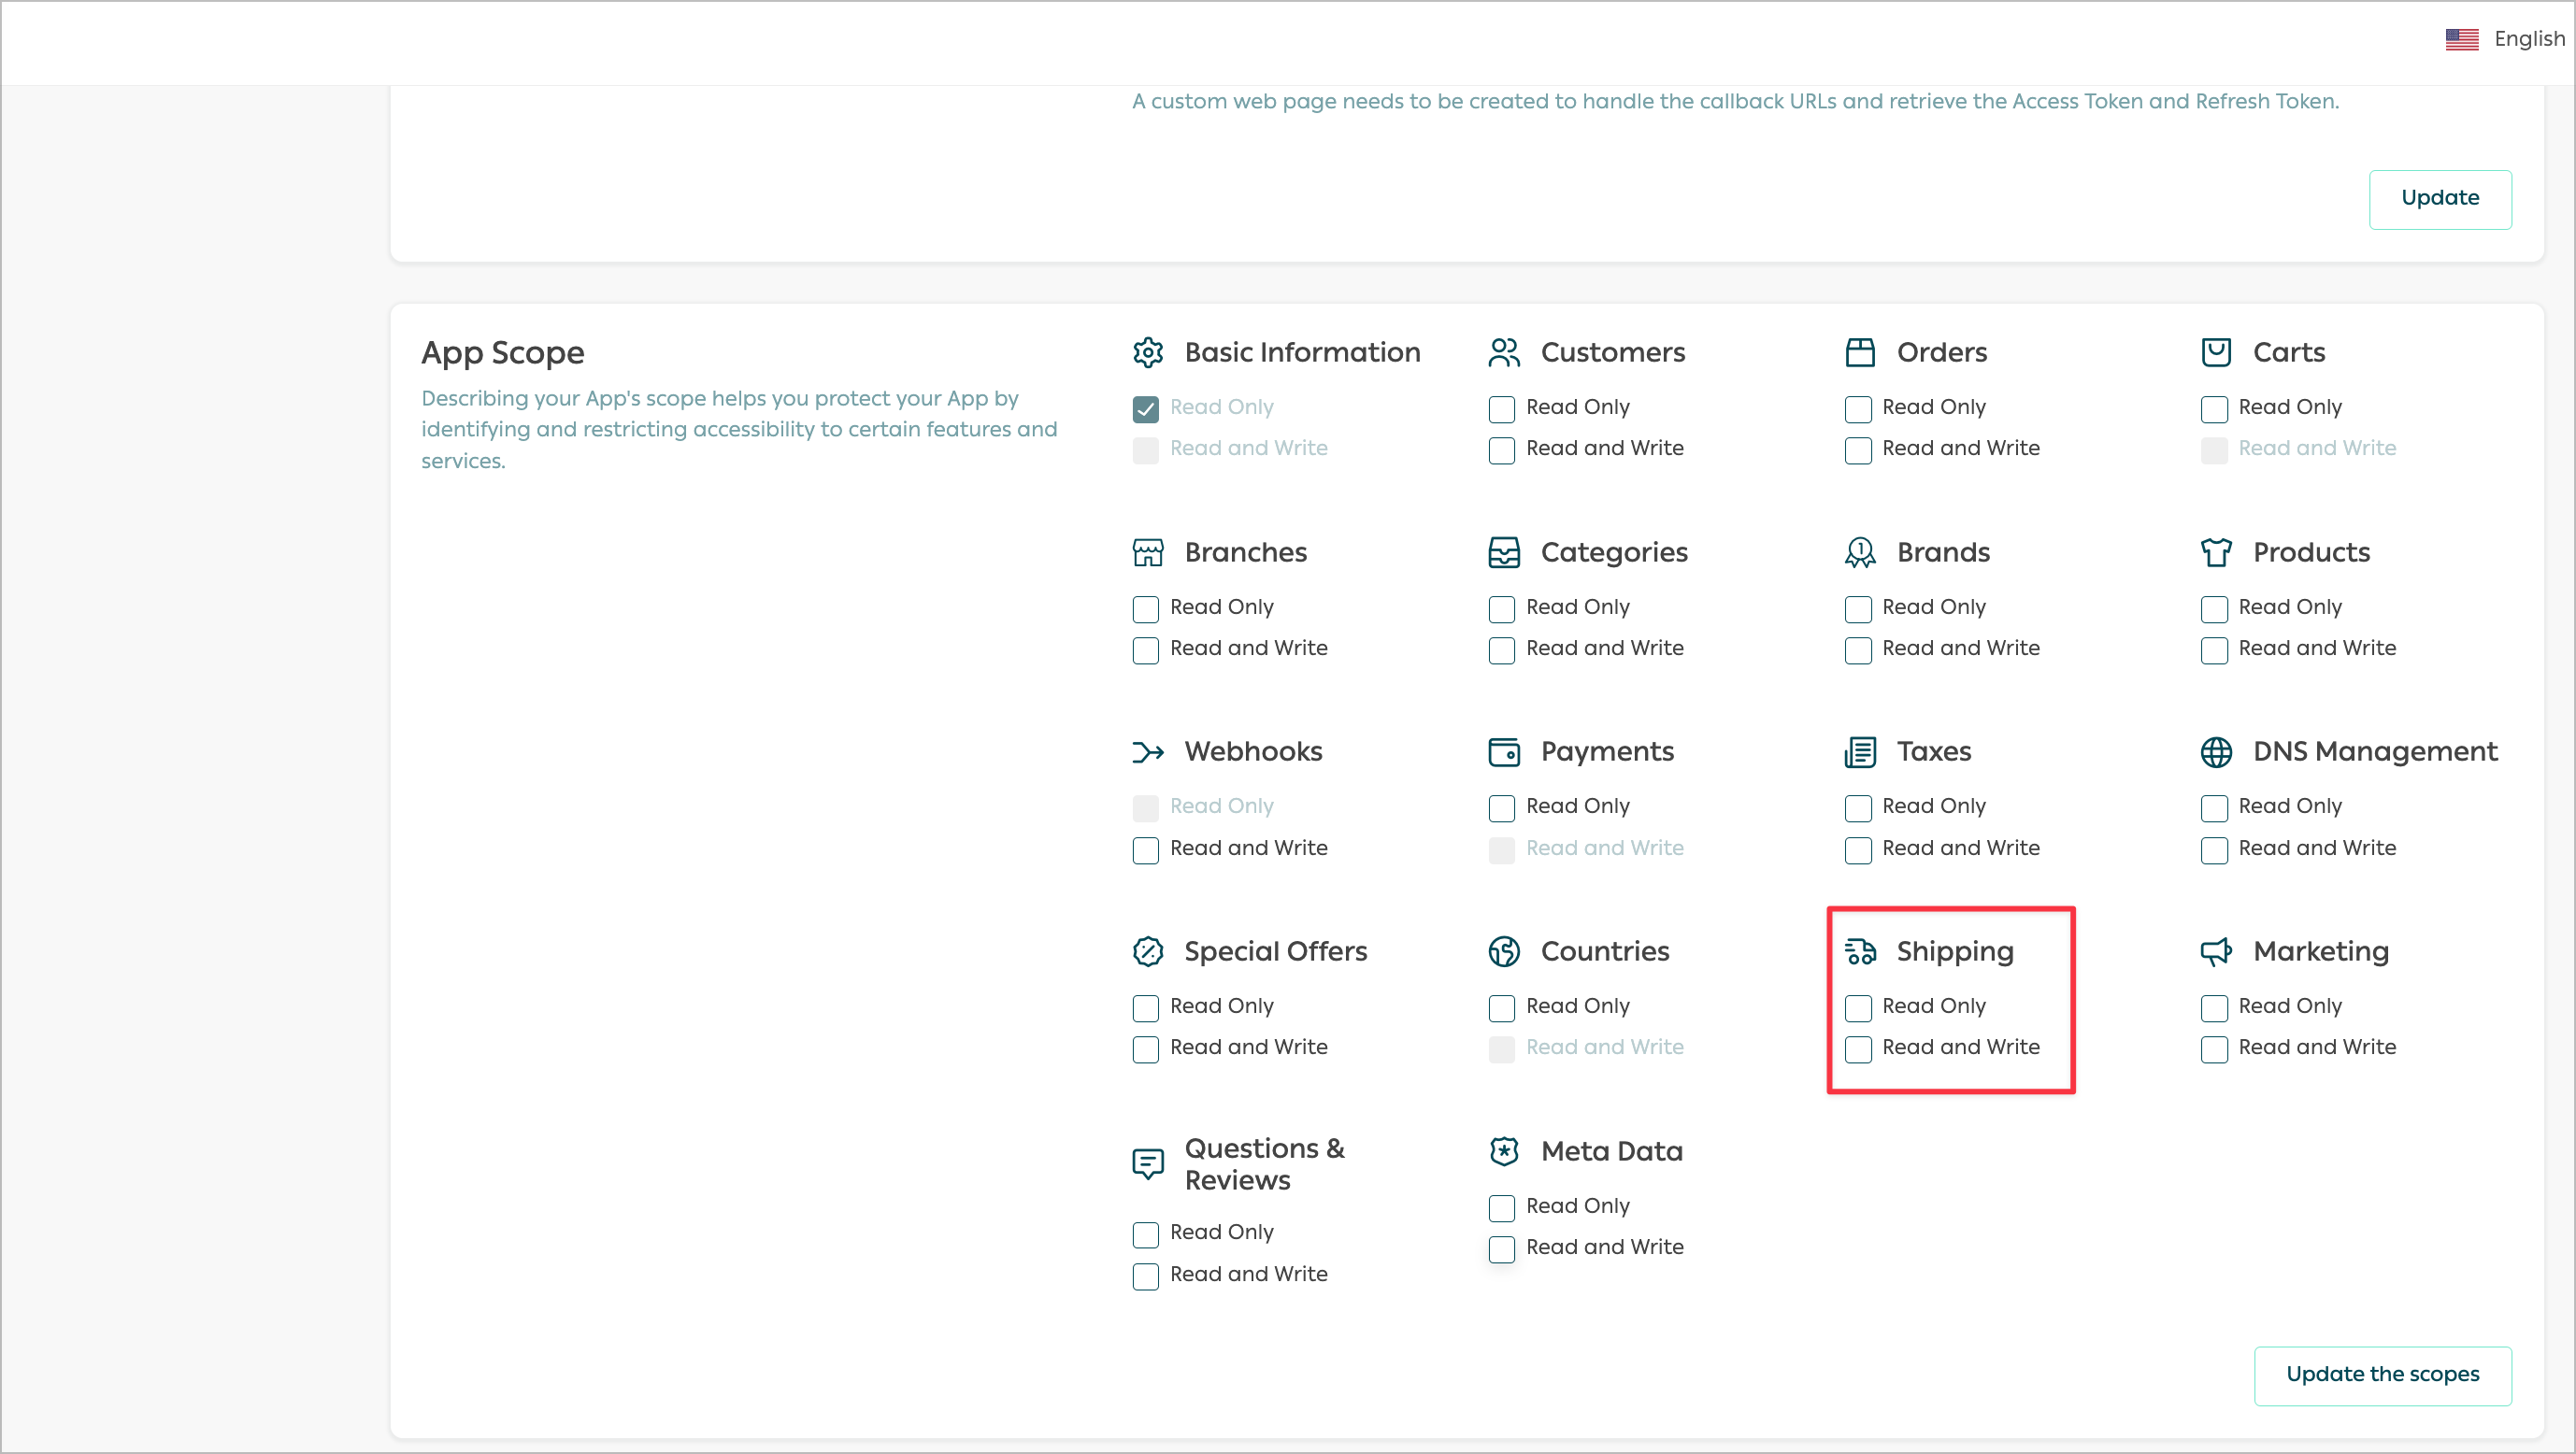
App Scope
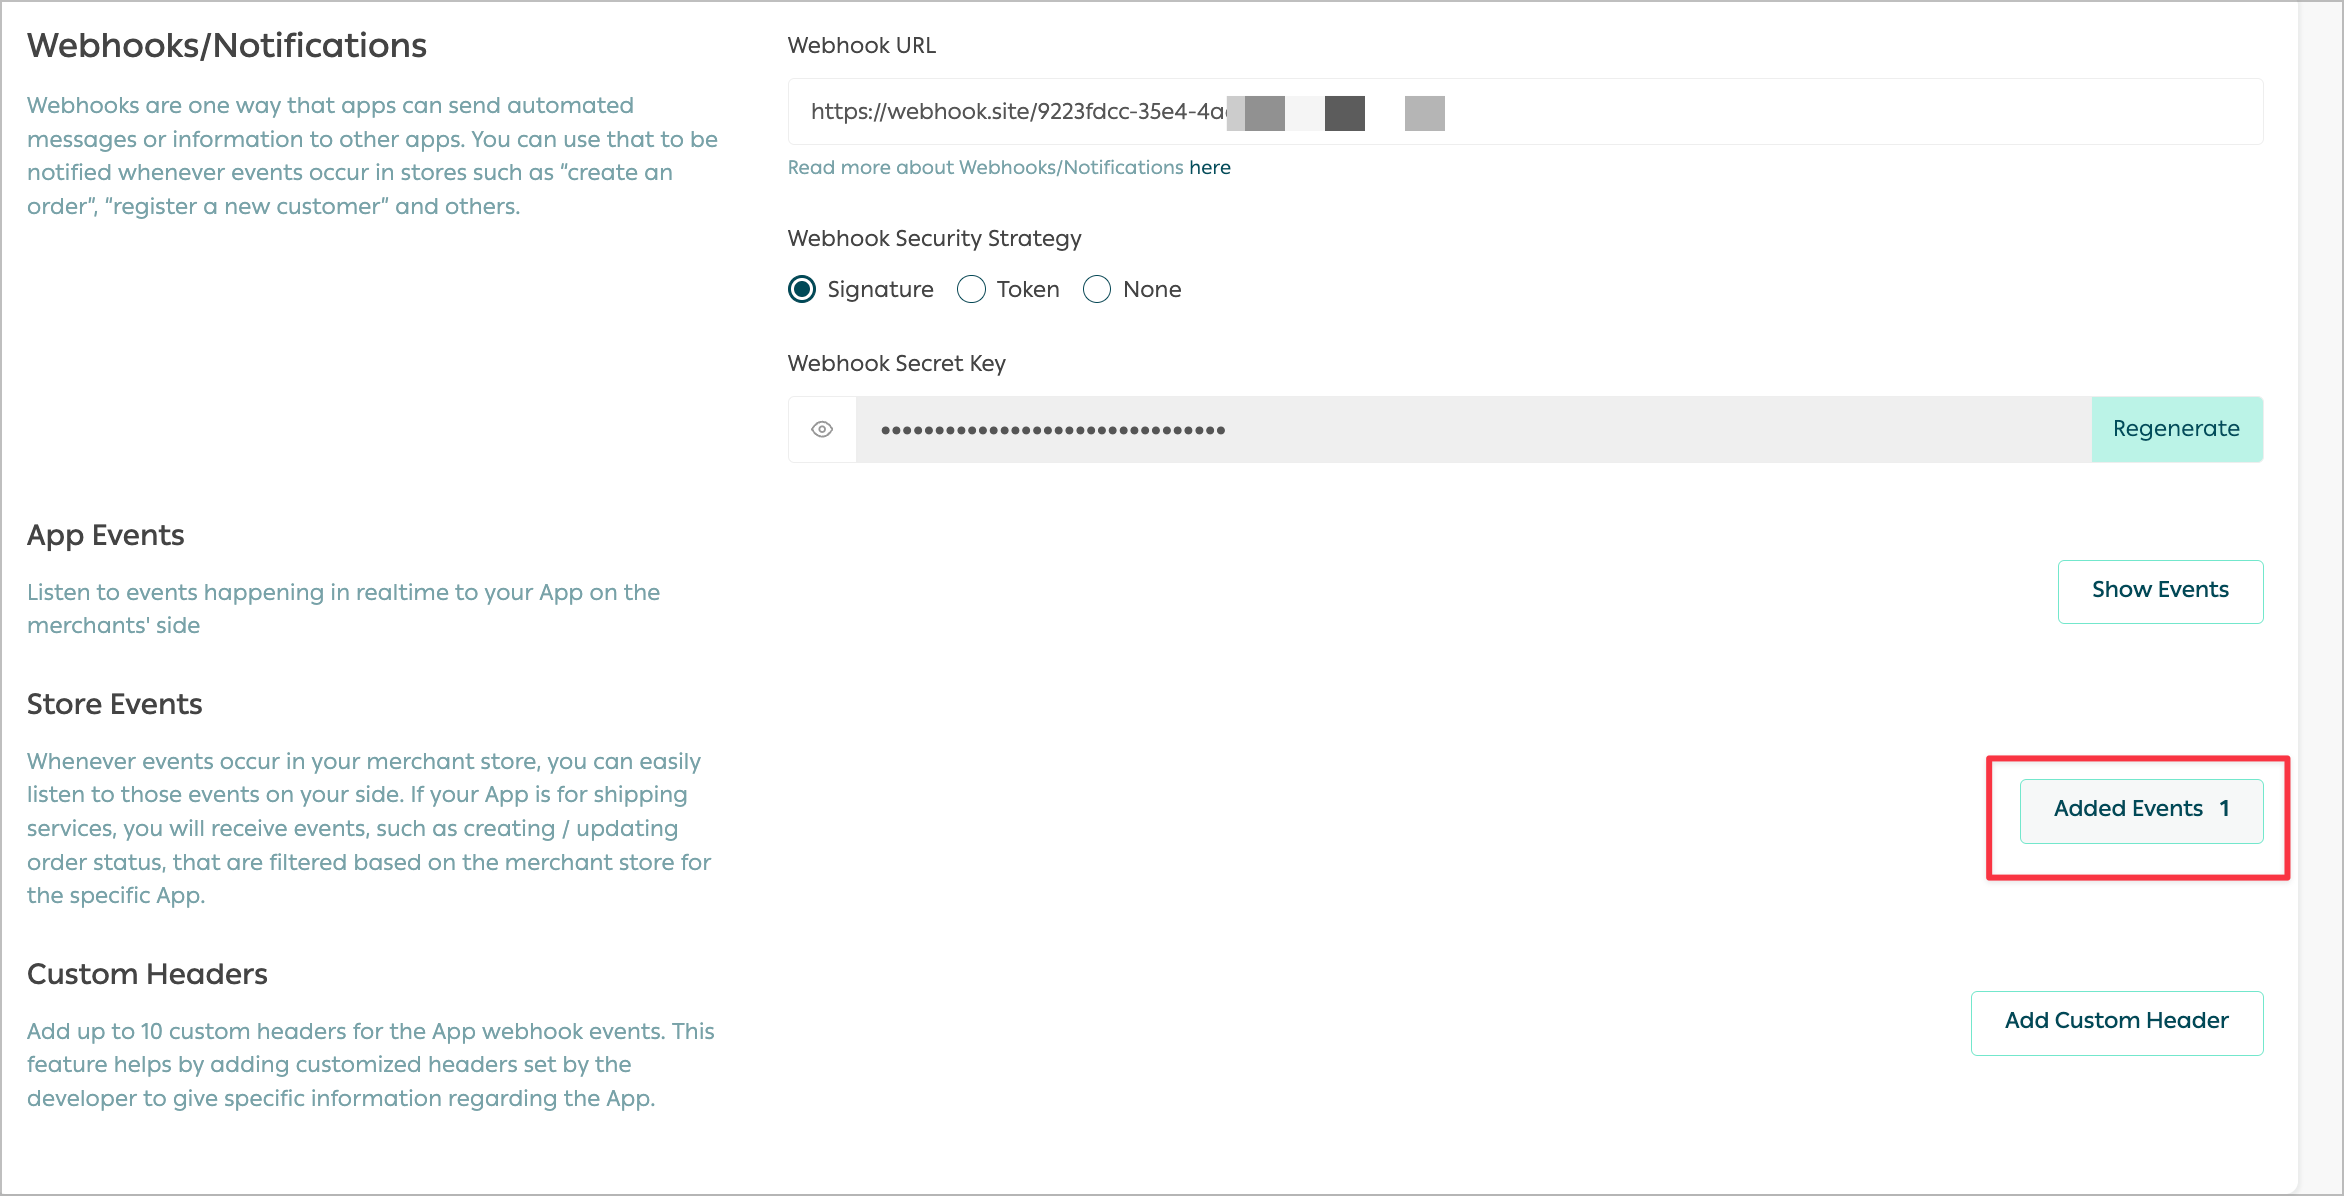
Webhooks/Notifications
Store Events
done using events, the developer can easily listen to those events that happen in the store on using Store Events. For instance, Shipping Apps can receive events such as Order Shipment Created.
The events are filtered based on the developer preference for the specific App.
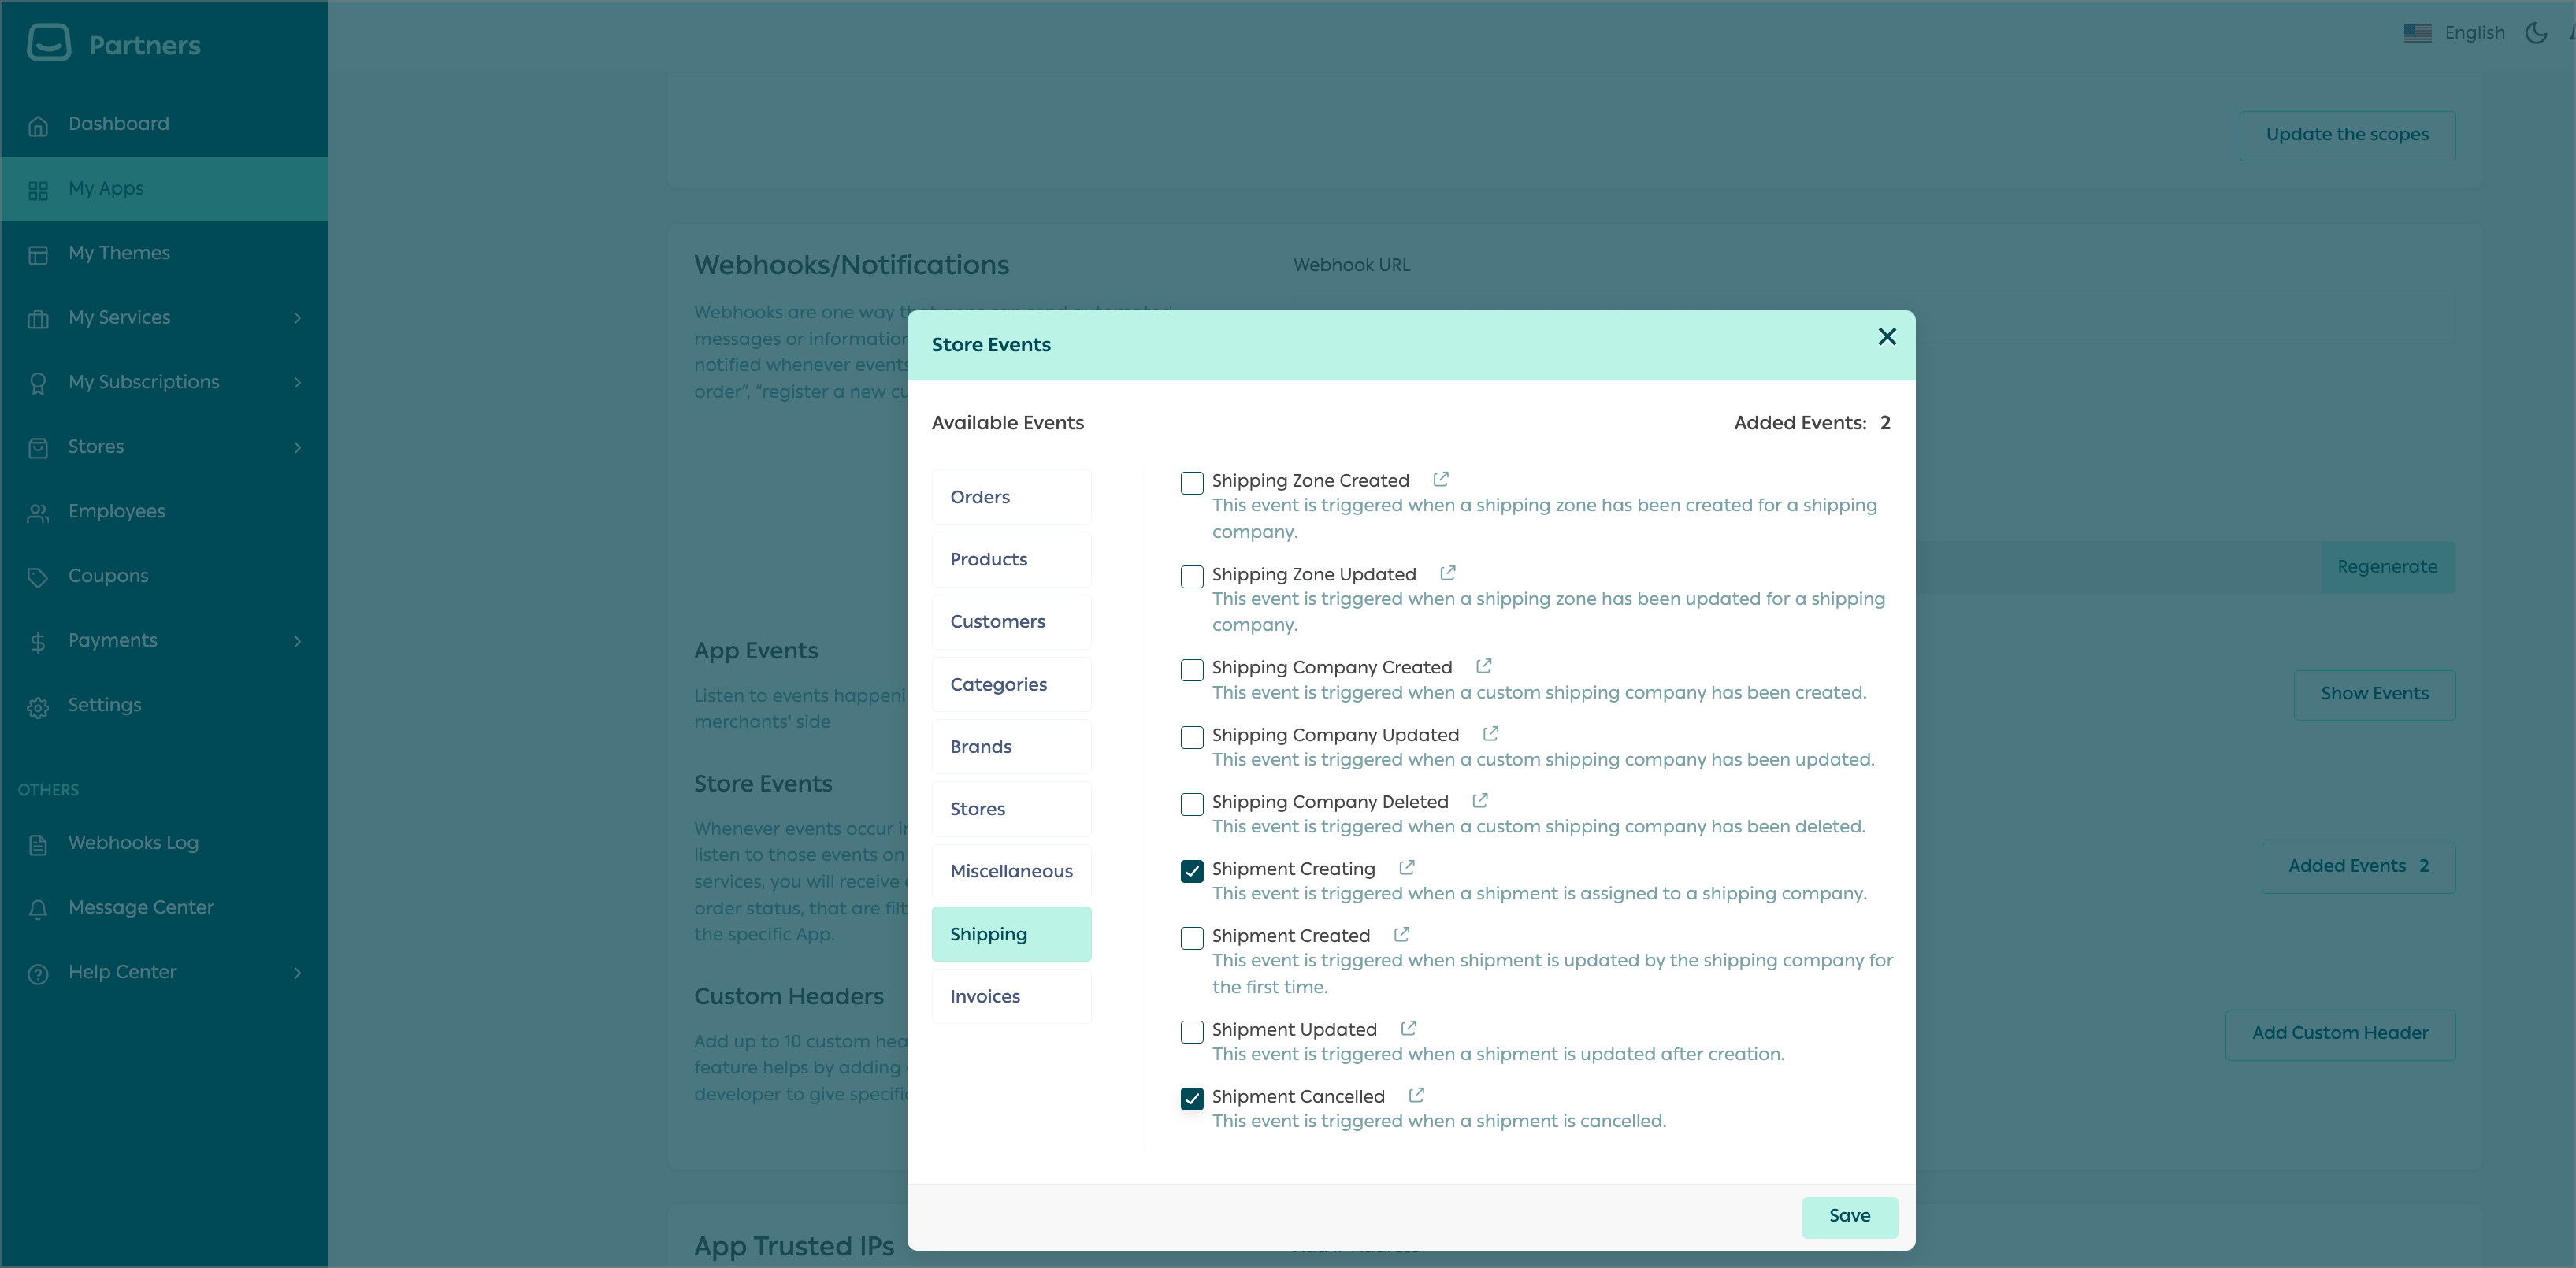
A thing to know!
Shipment CreatingandShipment Cancelledfor Salla Shipping Apps to enable minimal basic events.Shipping Settings
First Step
On the App details page, scroll down to the Shipping Settings section and click on 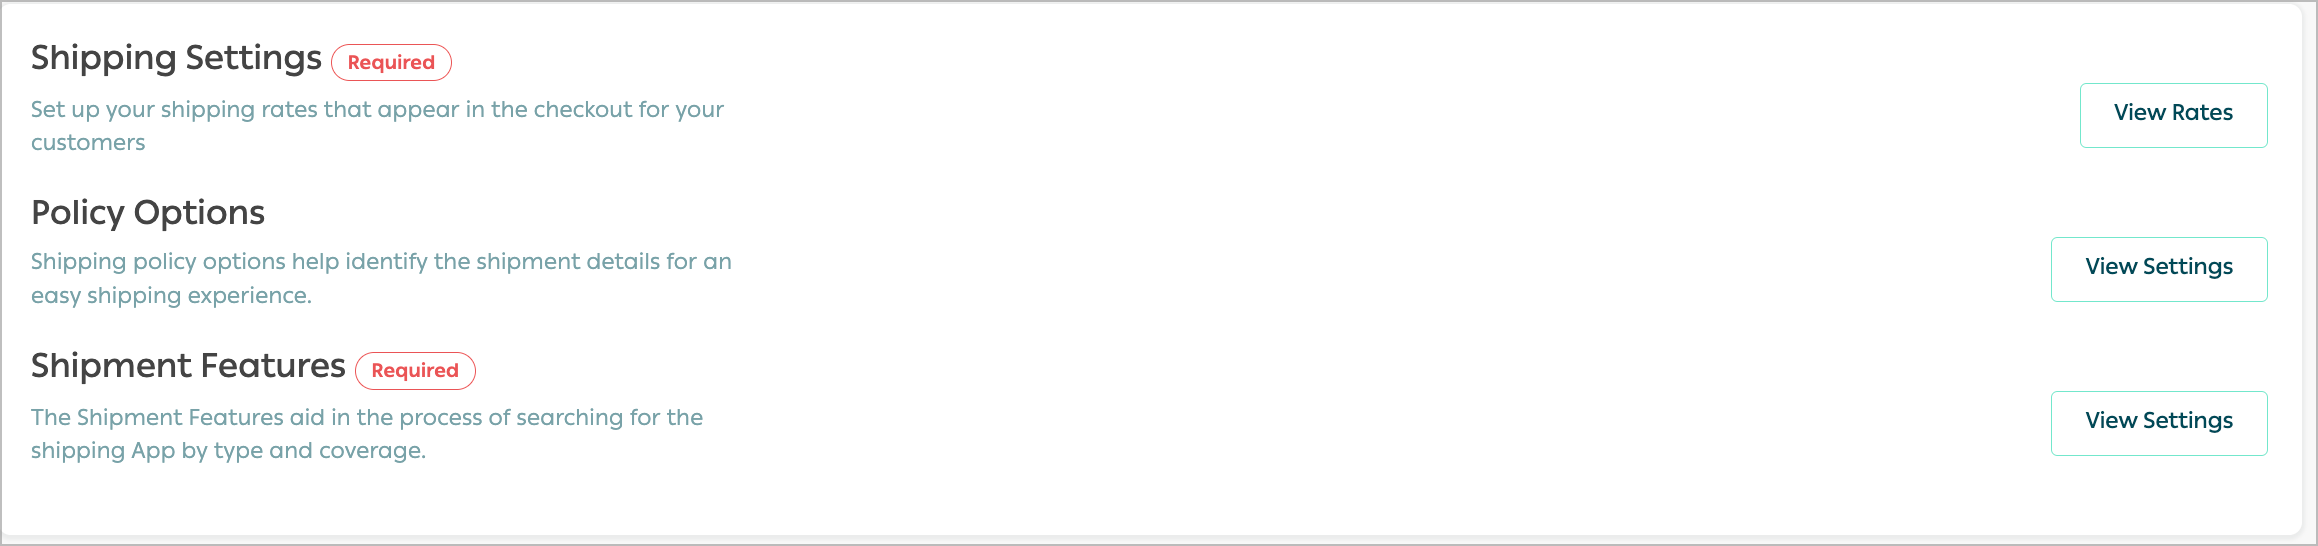
View Rates to display the rates.Second Step
Then click on Add a New Rate to start adding rates of the Shipping by completing the form.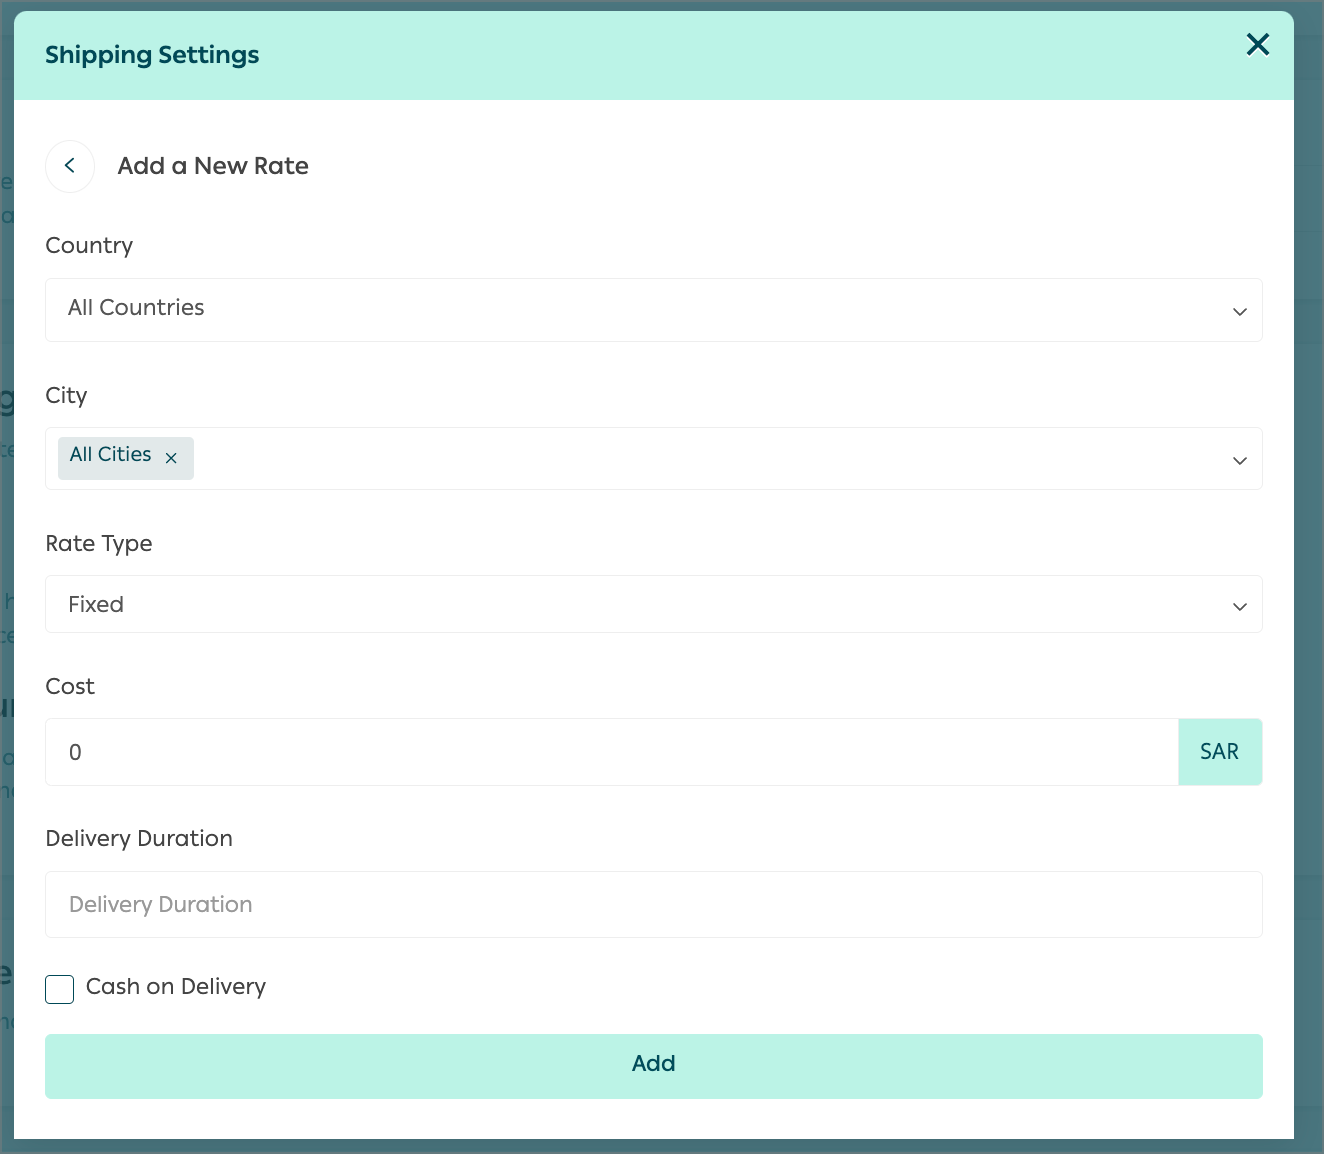
Form details are explained in the following table.
Next we will be listing in detail two different examples where developers can gain real-world scenario experience while building and developing Shipping Rates for their Shipping Apps. The developer also has the option to add a rate for a country and exclude a few cities, like shown below.
This option will exclude the city Almuzaylif from the rate being set. 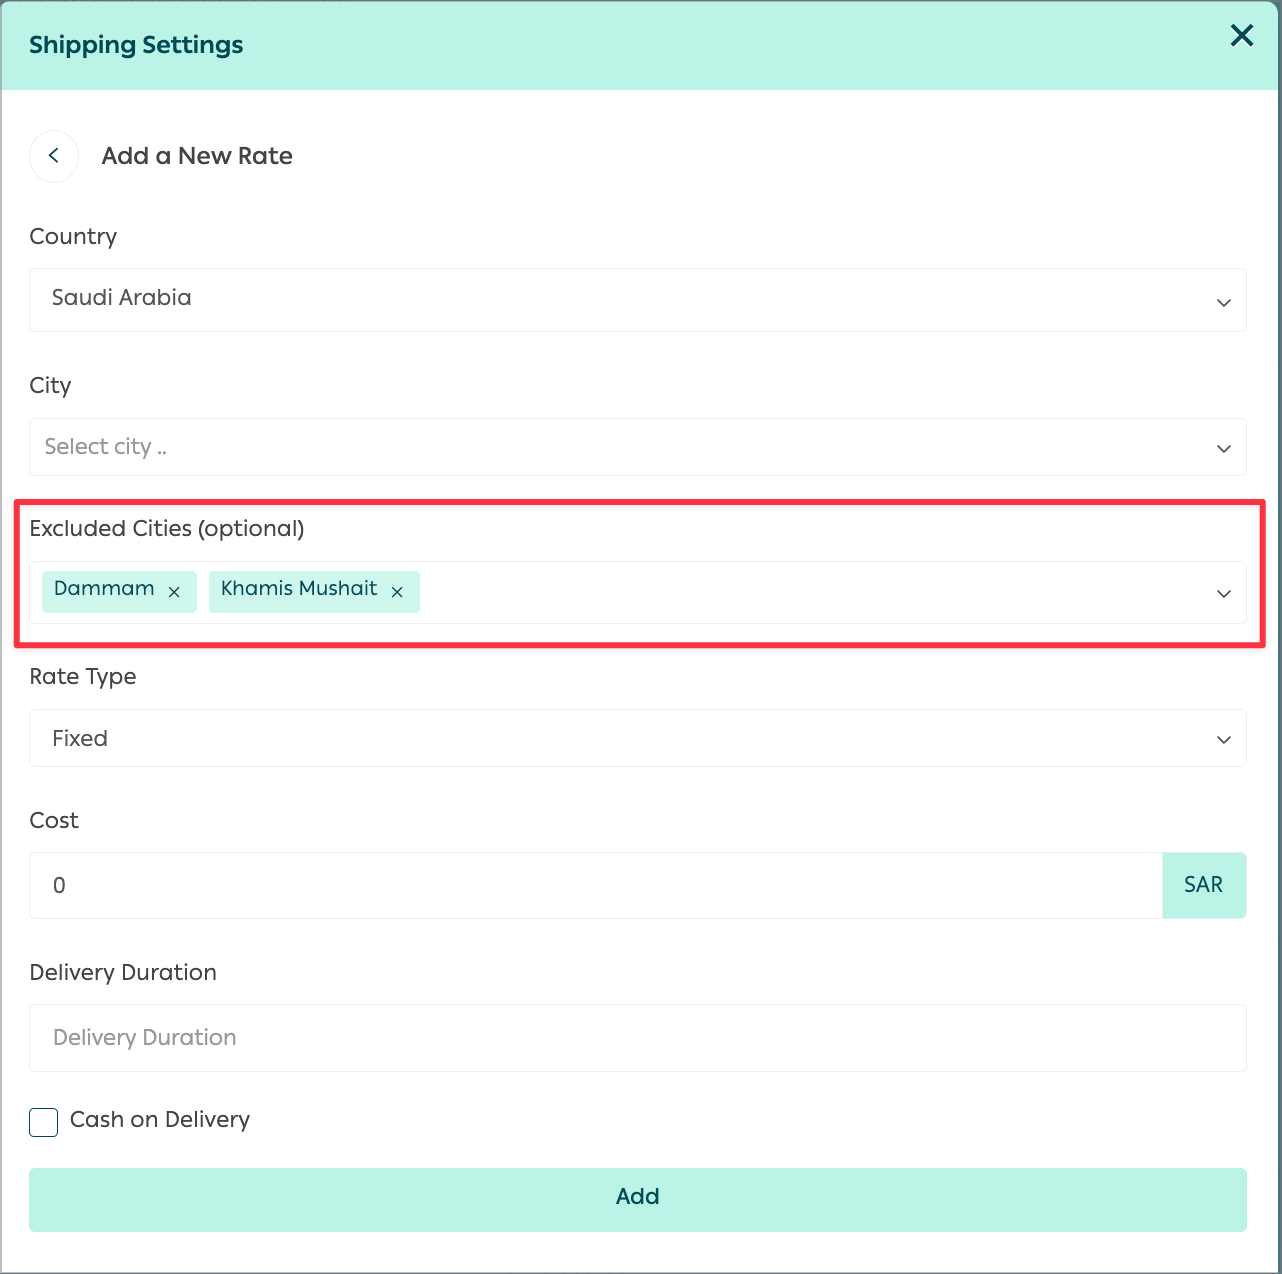
Click on Add after filling in the Rate details to save the rates. A notification will be displayed to confirm saving change and the newly added rate will be displayed. 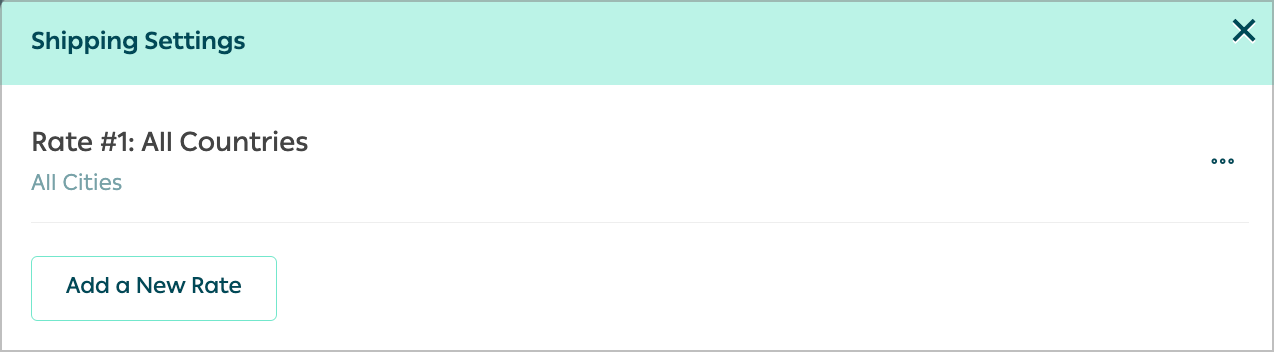
Moreover, you can add shipping policy options straight from the Partners Portal by selecting from the drop down menu list 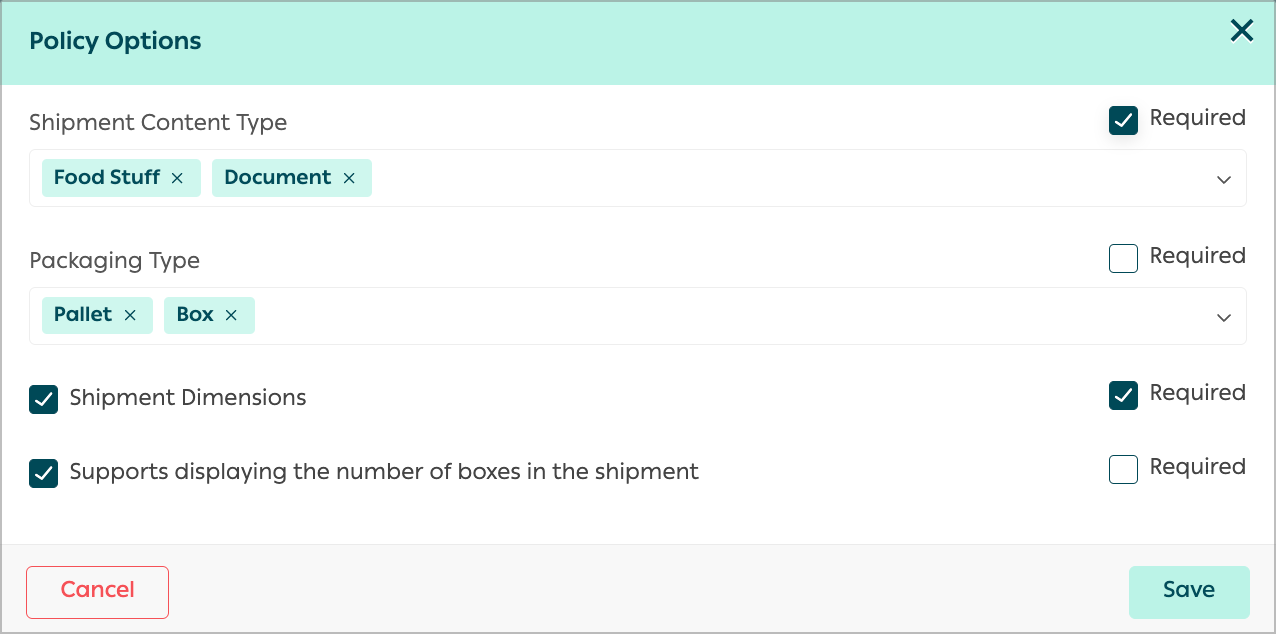
| Item | Description |
|---|---|
| Country | The country that the Shipping App offers its services in. |
| City | The city in the country the Shipping App offers its services. |
| Excluded Cities(Optional) | The cities excluded from the rate being set. |
| Rate Type | The developer can choose either Fixed or Rate. |
| Cost | Cost of the shipping for fixed Rate Type. |
| Delivery Duration | The time required to deliver the parcel. |
| Cash on Delivery | The developer can enable this option to offer COD payment type. |
Examples
Example 1
Example 2
Following is an example of a completed form for a rate offered to Saudi Arabia Country, in two Cities; Riyadh and Jeddah, Fixed Rate Type, Cost of 50 SAR, Delivery Duration of 7 days, and option of Cash on Delivery enabled with zero fees.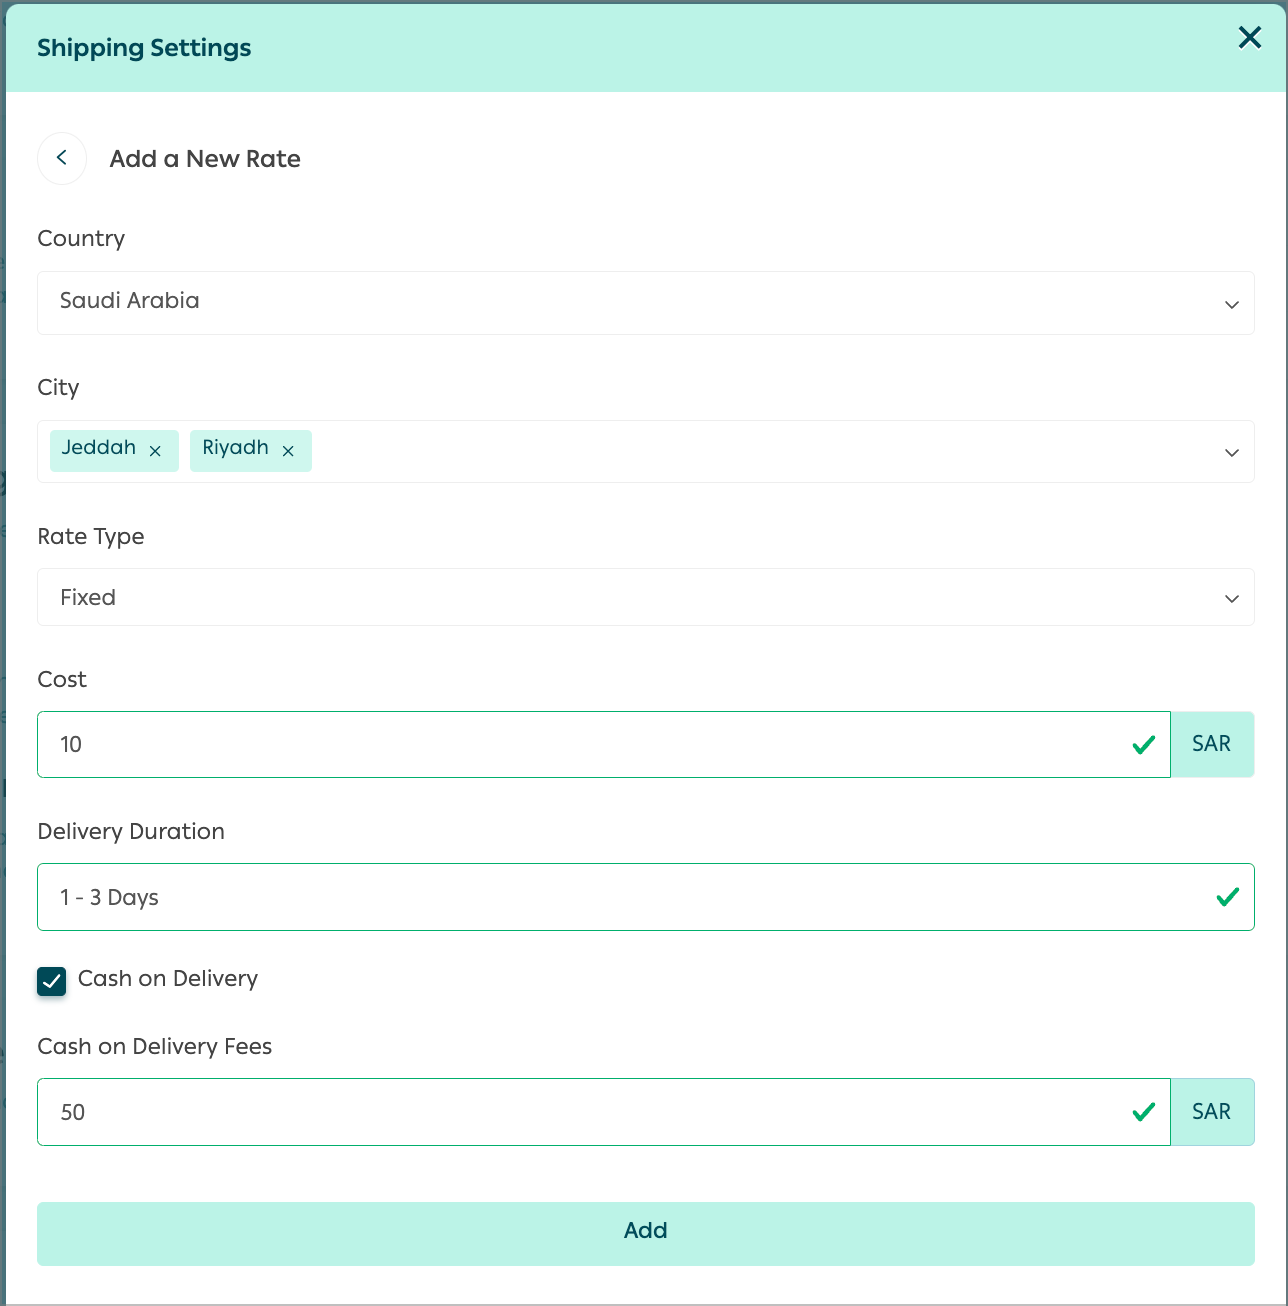
This option will exclude the city Almuzaylif from the rate being set.
Third Step
Finally, customize the shipment features with what accomplies with your shipping service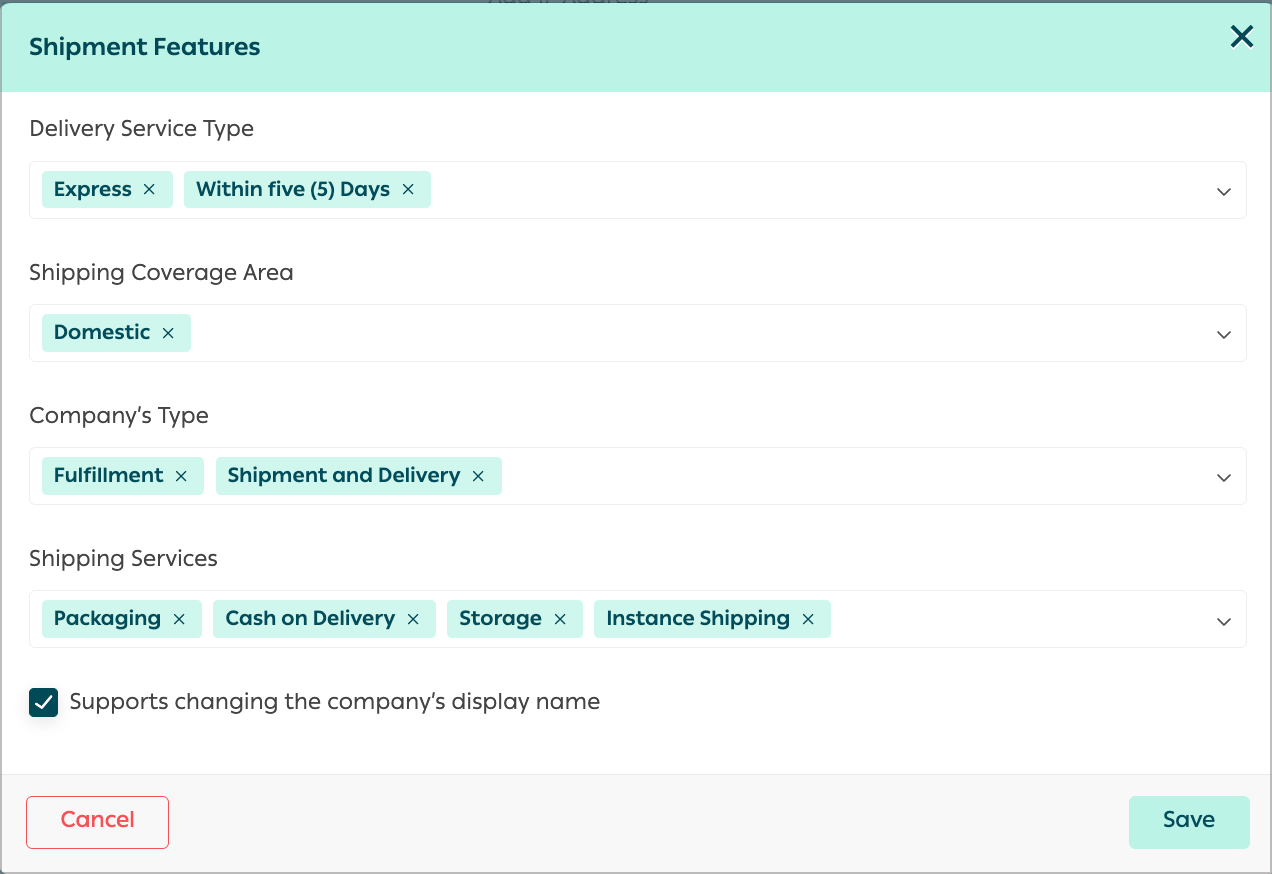
Kudos!!🎉
Modified at 2025-03-06 07:31:57