Salla Docs
Merchant API
  • Merchant API
  • Salla OAuth 2.0
Partner APIs
  • App API
  • Shipment API
Storefront
  • Twilight Engine
  • Twilight SDK
  • Web Components
  • Change Log
Salla CLI
Merchant API
  • Merchant API
  • Salla OAuth 2.0
Partner APIs
  • App API
  • Shipment API
Storefront
  • Twilight Engine
  • Twilight SDK
  • Web Components
  • Change Log
Salla CLI
Salla - Opensource
Salla - Developers Community
  1. Twilight Themes Command
  • Welcome to Salla CLI 👋
  • Usage
  • Authorization
  • Help
  • Apps Command
    • Overview
    • Create App
    • Create Webhook
    • Delete
    • Link
    • List and Info
    • Serve
  • Twilight Themes Command
    • Overview
    • Create
    • Preview
    • List
    • Delete
    • Publish
  • Additional Resources
    • Upgrade and Version
    • Troubleshooting
  1. Twilight Themes Command

Preview

The Salla CLI allows the developer to preview the theme as they are being developed. This article will walk the developer through the process of using the preview command in the Salla CLI.

📙 What you'll learn#

Preview command

Preview#

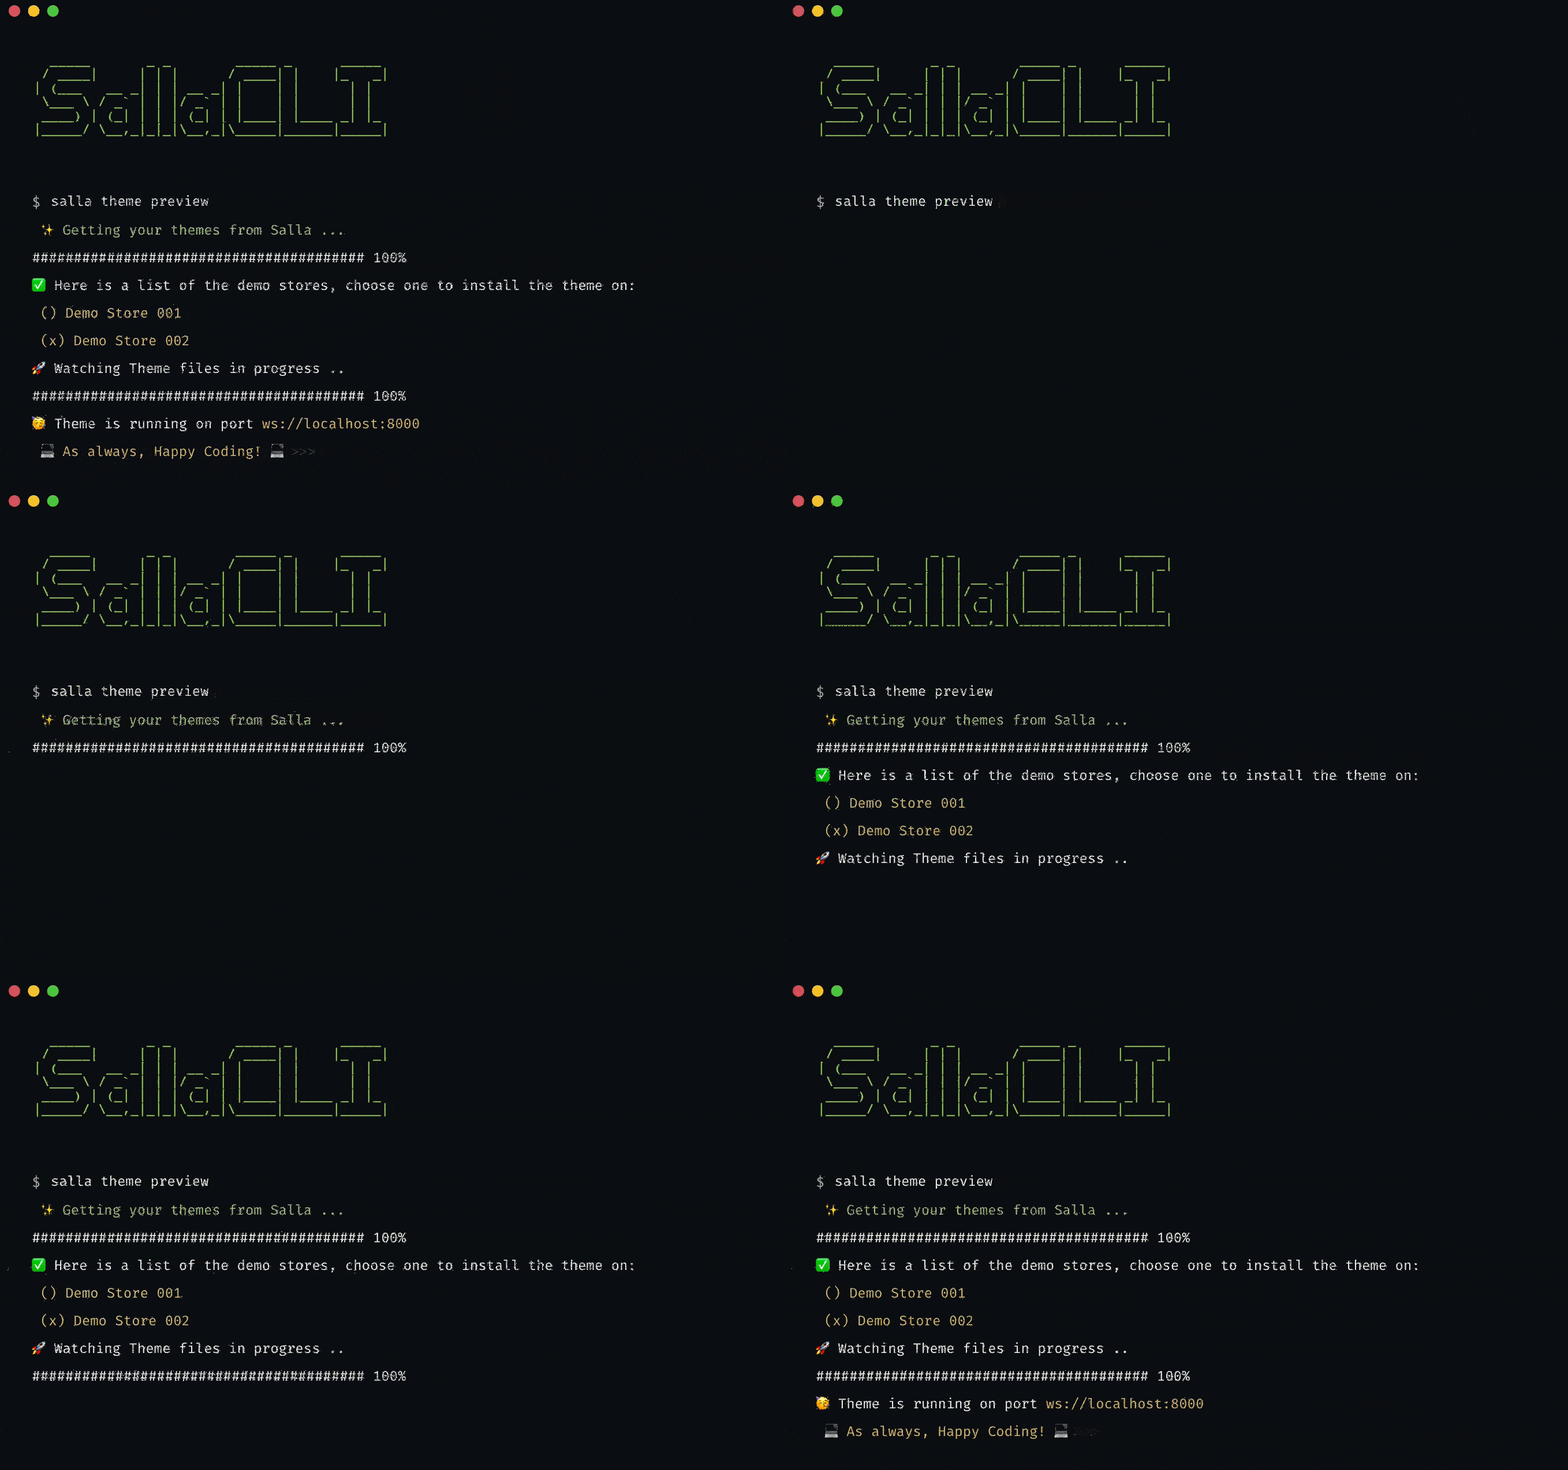
The preview command helps the developer to get a look at the theme in live mode.
INFO
To run the preview command, the developer must be in the theme's root folder.
The developer must be logged into Salla Partners Account and logged in to his Github Account using PAT.
The demo stores of the developer will be listed for the developer to choose from to preview the theme on, after which
an interactive development environment designed by Salla will be launched with the help of preview command, this command will also automatically handle the process building and deploying the theme to a local server and preview browser during the development process.
This includes the following steps:
Running a local development server to serve the local assets' directory.
Launching a local preview browser with a selected demo store.
Watching theme file changes.
Hot reloading the current previewed page, each time changes in assets or views are detected.
Managing the preview environment including committing the changes to the synced GitHub repository if required.
This is a fantastic option for developers who want to see live updates to their themes appearing on the demo store right away.
CAUTION
The developer will be in the preview mode until they exit the CLI using "Ctrl+c".
Salla Theme Preview Command
Additionally, preview command allows further options to simplify previewing a theme in the development environment:
Store Name
Store ID
salla theme preview --store=sweet_store  --with-editor --browser=chrome
OptionsDescription
--store=<store>Opens the development browser with a selected demo store. The developer needs to provide the demo store name or ID, which can be retrieved by the command salla store list. If the developer does not provide the name of the demo store, he or she will be asked to select one later.
--with-editorOpens the development browser along with an editor for theme customization. The developer will be asked about this option later, in case it was not provided with the previous command.
--browser=<browser-name>Opens the development browser using a specific user browser. By default, the user's browser will be "Google Chrome".
There are more options for the preview command that make it easier to see a preview of the theme in the development environment:
In the case of having an existing project in the developer’s local environment, the preview command will request the developer to commit recent changes to the remote repo file in GitHub. Which is equivalent to the git push command.
As a best practice, the developer should accept to commit changes to ensure a smooth preview experience.
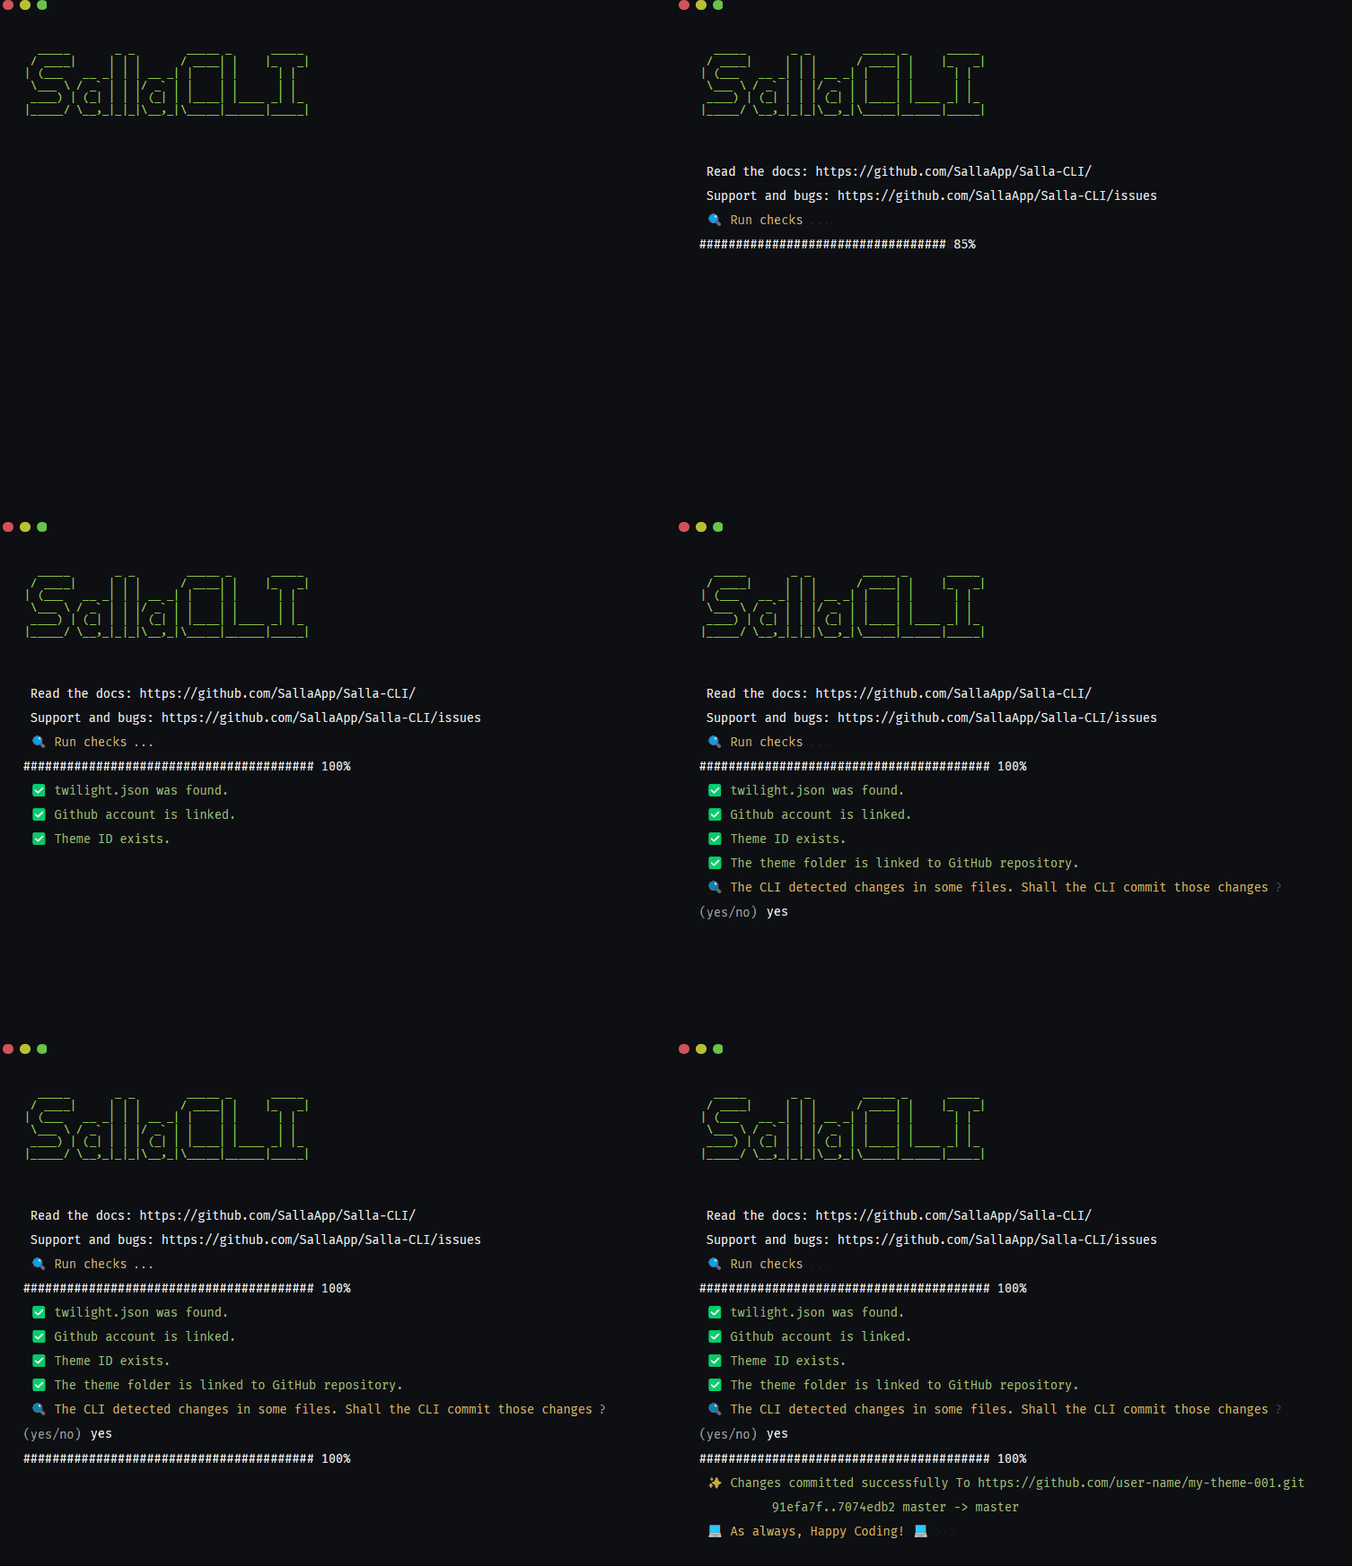
Salla Git push Command
In rather uncommon situations, the developer may receive an error message as shown below:
This is due to the IP being blocked resulting from exceeding the number of allowed requests.
To resolve this issue:
✅ The developer needs to avoid enabling any auto-save option in the IDE. Such features work automatically and send too many requests to the server.

✅ Check the network connection.

✅ Reboot the network router in order to get a new IP address.
Modified at 2025-03-06 07:31:57
Previous
Create
Next
List