Using the Partners Portal, the developer has the ability to manage the theme's setup. This includes managing the theme's basic information, screenshots, settings, features, custom components, and price. Besides that, the developer can preview, delete, publish, or withdraw any theme.📙 What You'll Learn#
In this article, you will learn how to setup a theme using the Partners Portal. We will also go through the following:
Setting up twilight.json#
The Theme's setup can be modified directly from the twilight.json file, which is synced in the Github account connected with the Partners Portal. Explore more on the twilight.json file by reading this guide. Setup via the Partners Portal#
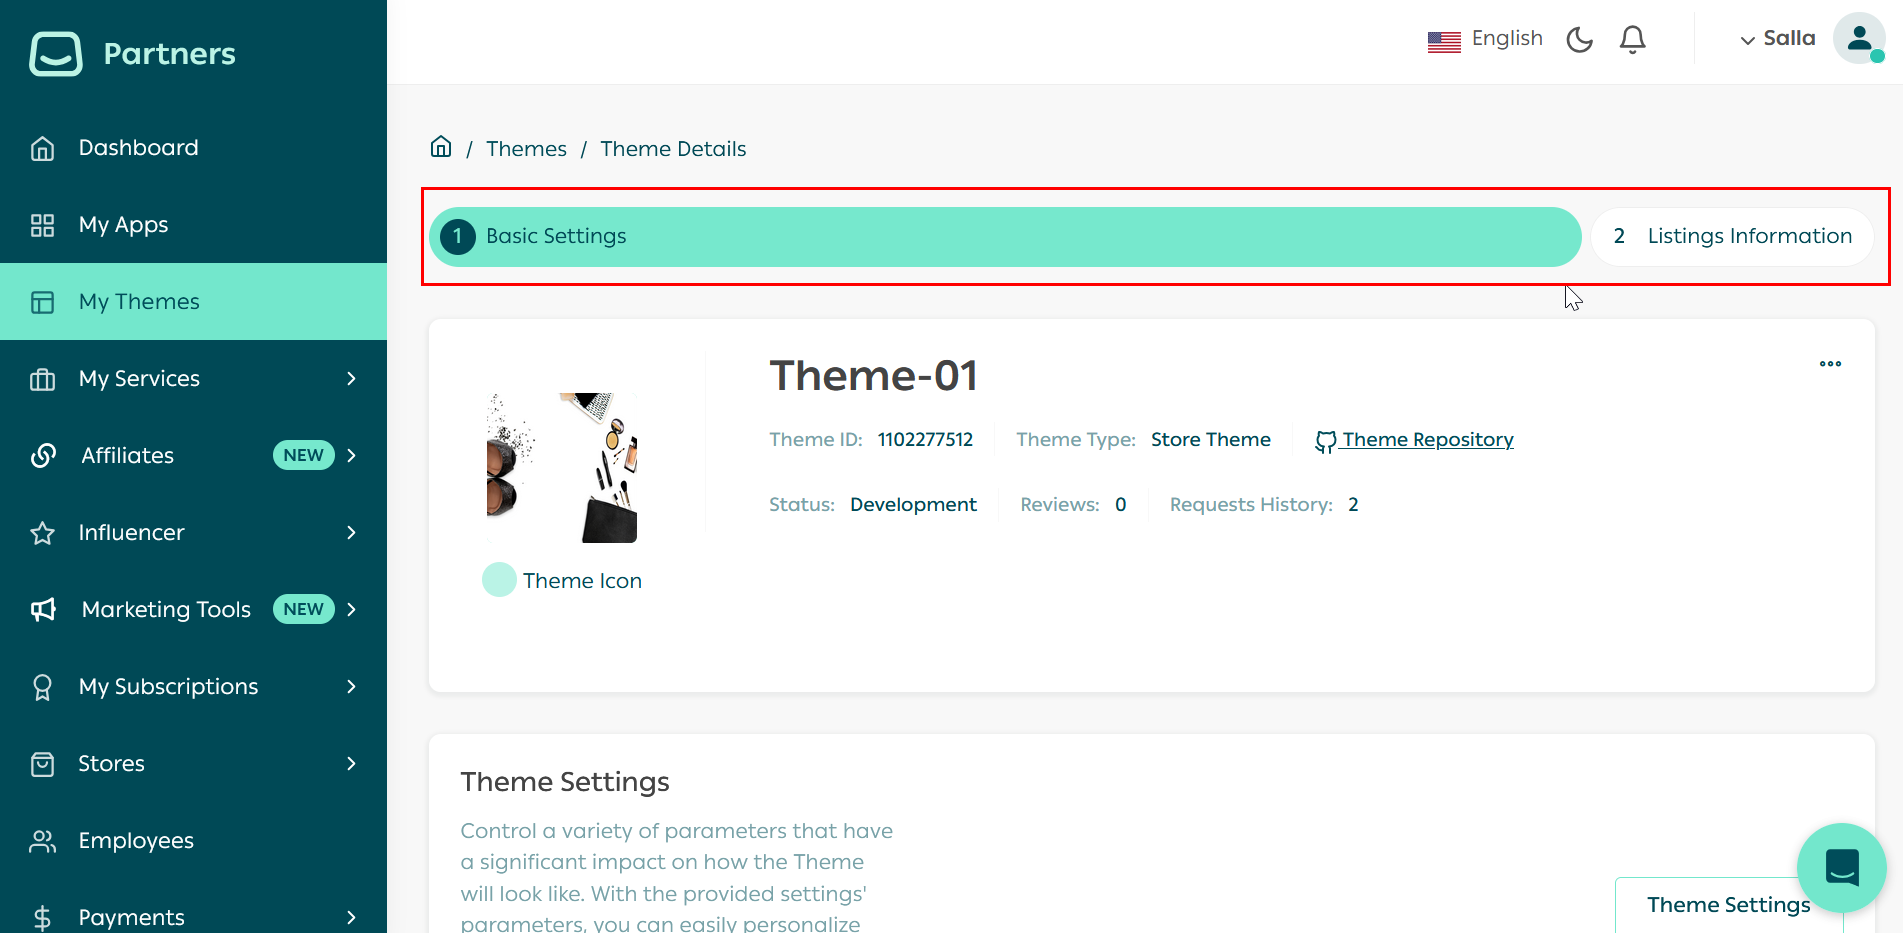
On the Salla Partners Portal dashboard, the developer needs to click on My Themes in the main navigation menu. This will show the list of available themes. The developer needs to first select a theme and then start with the setup process.There are two parts for Theme setup which are Basic Settings and Listing InformationBasic Settings#
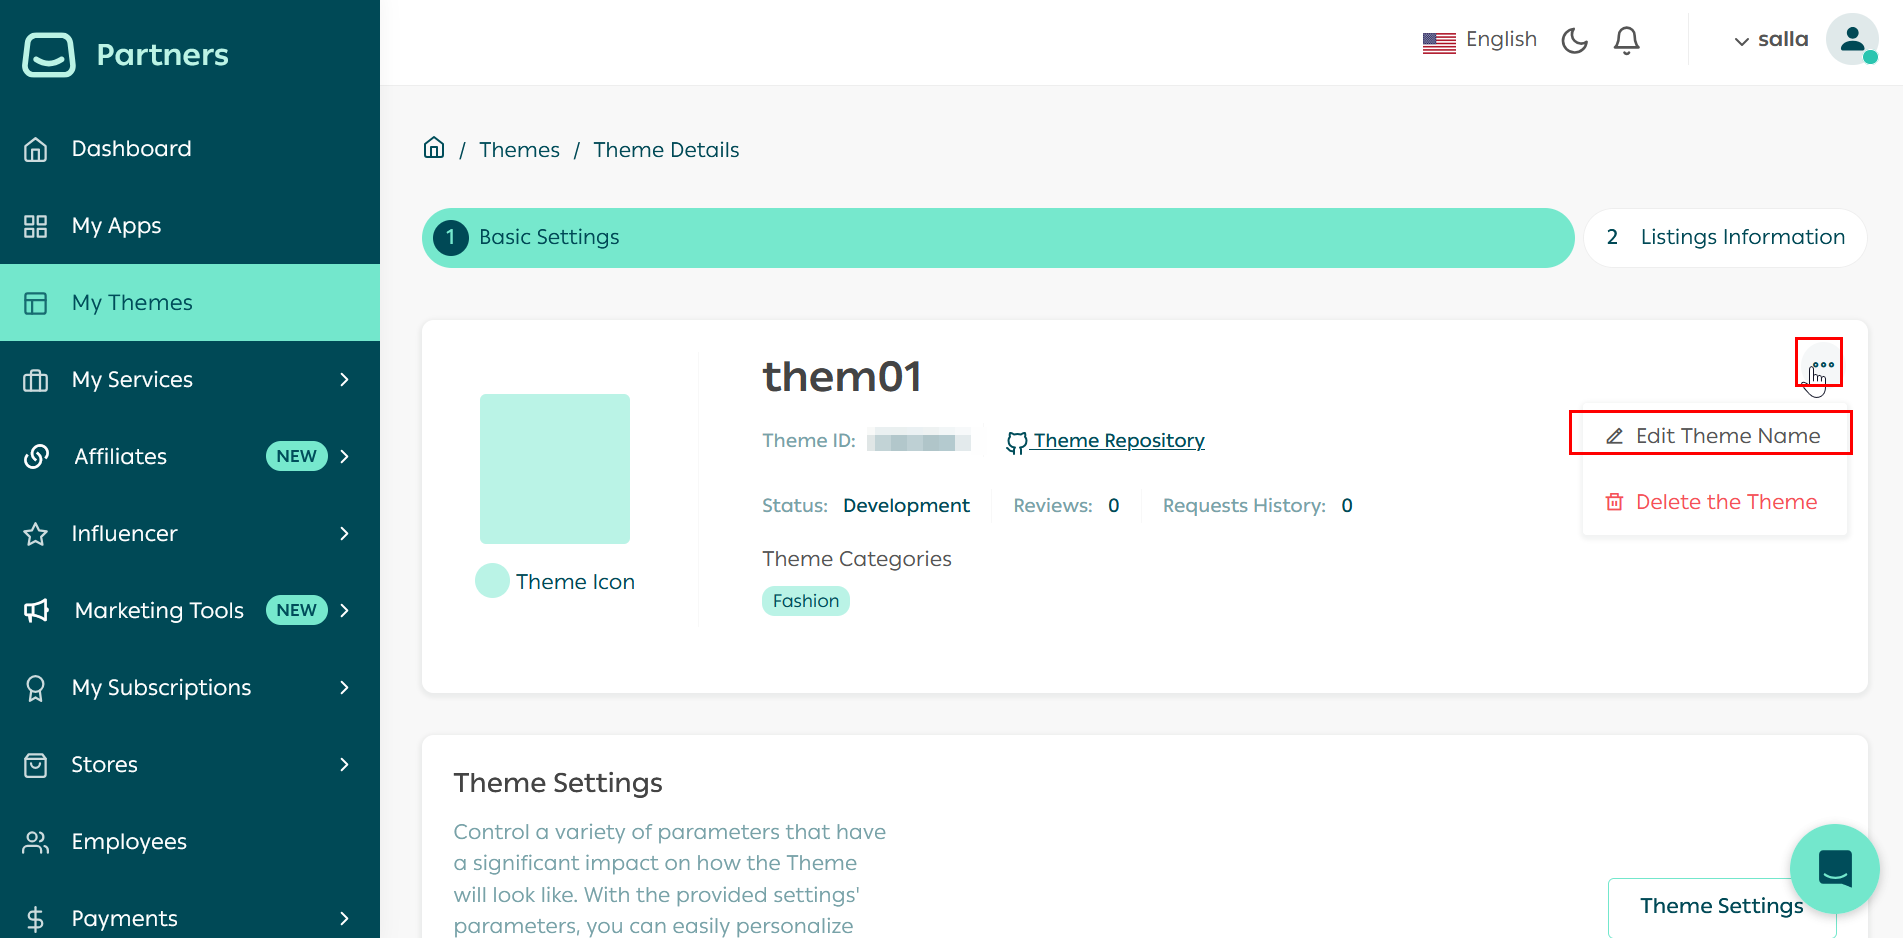
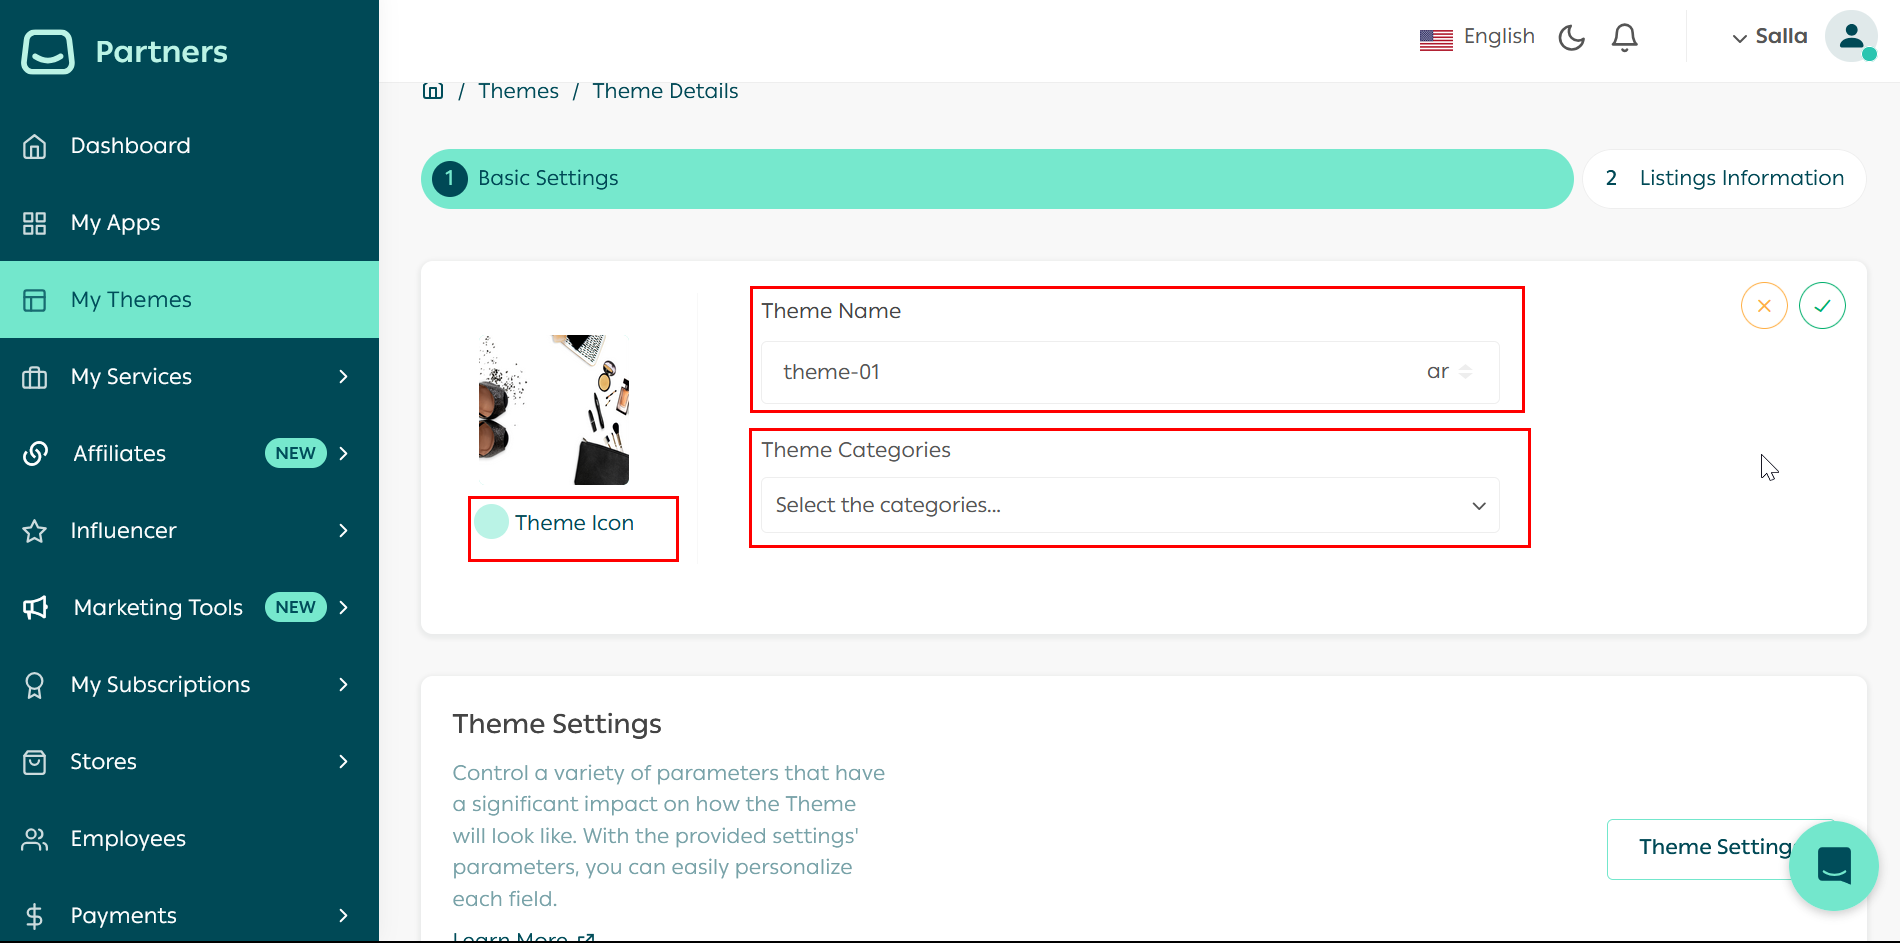
The Basic Settings will be explained in the coming sections and Listing Information will be further explained in the Theme Publish article.To start click on edit Theme Name to edit Theme name and categoryHere you can also update basic information about the Theme, such as Theme icon, name and category.2 Theme Settings#
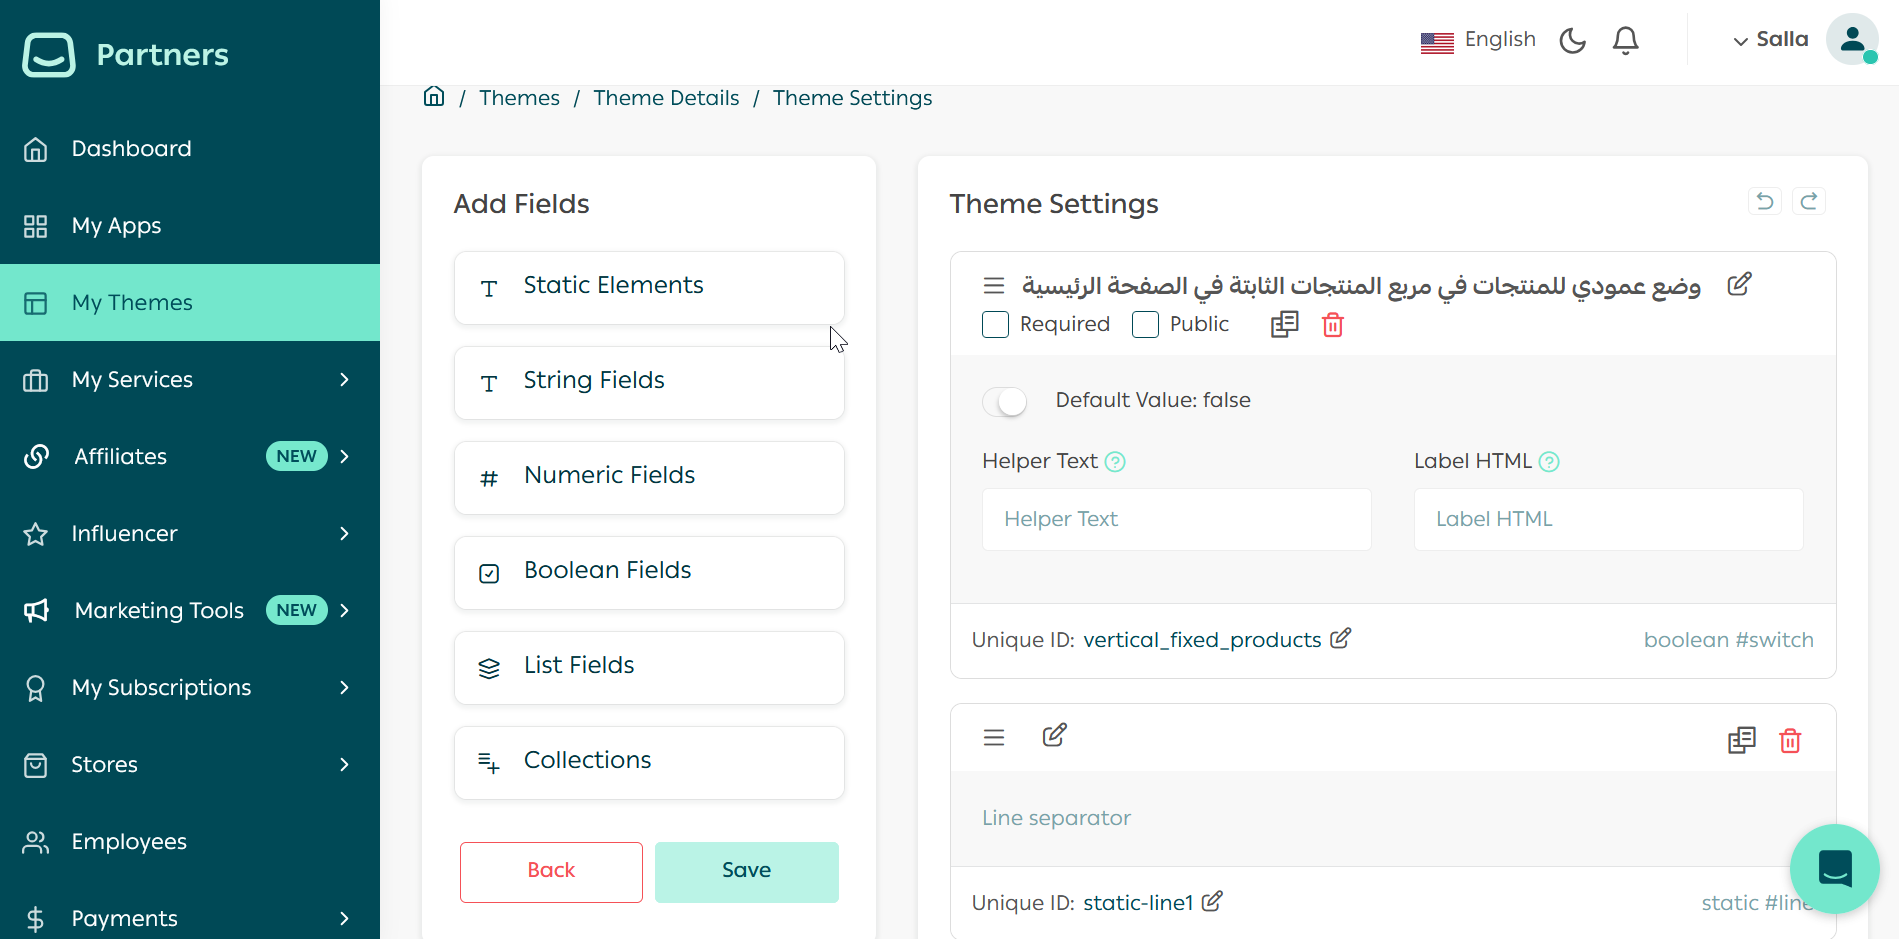
Personalize the experience via the Theme Settings section by adding custom fields and parameters, which allow for significant control over the Theme.In there, the drag & drop four fields (String, Numeric, Boolean, and List) bring a unified, straightforward experience for Salla Merchants. A fifth field is Collection, which allows for creating a group of fields that has a mix of the four fields.3 Theme Features#
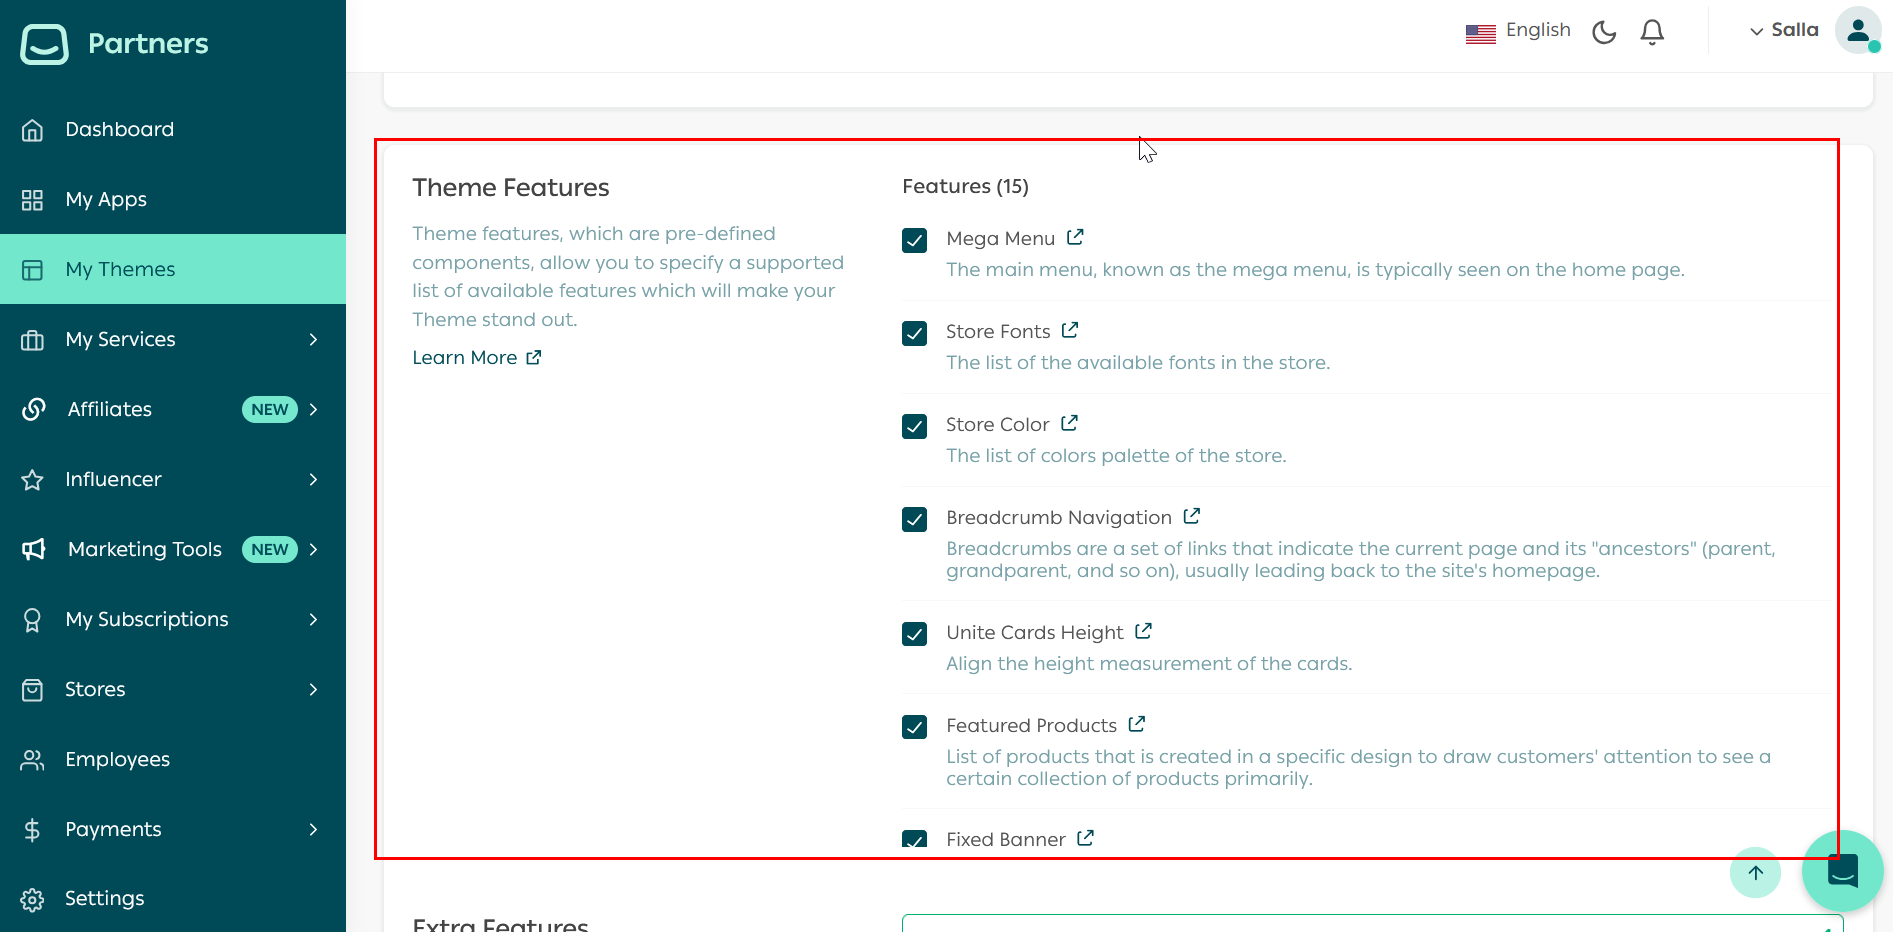
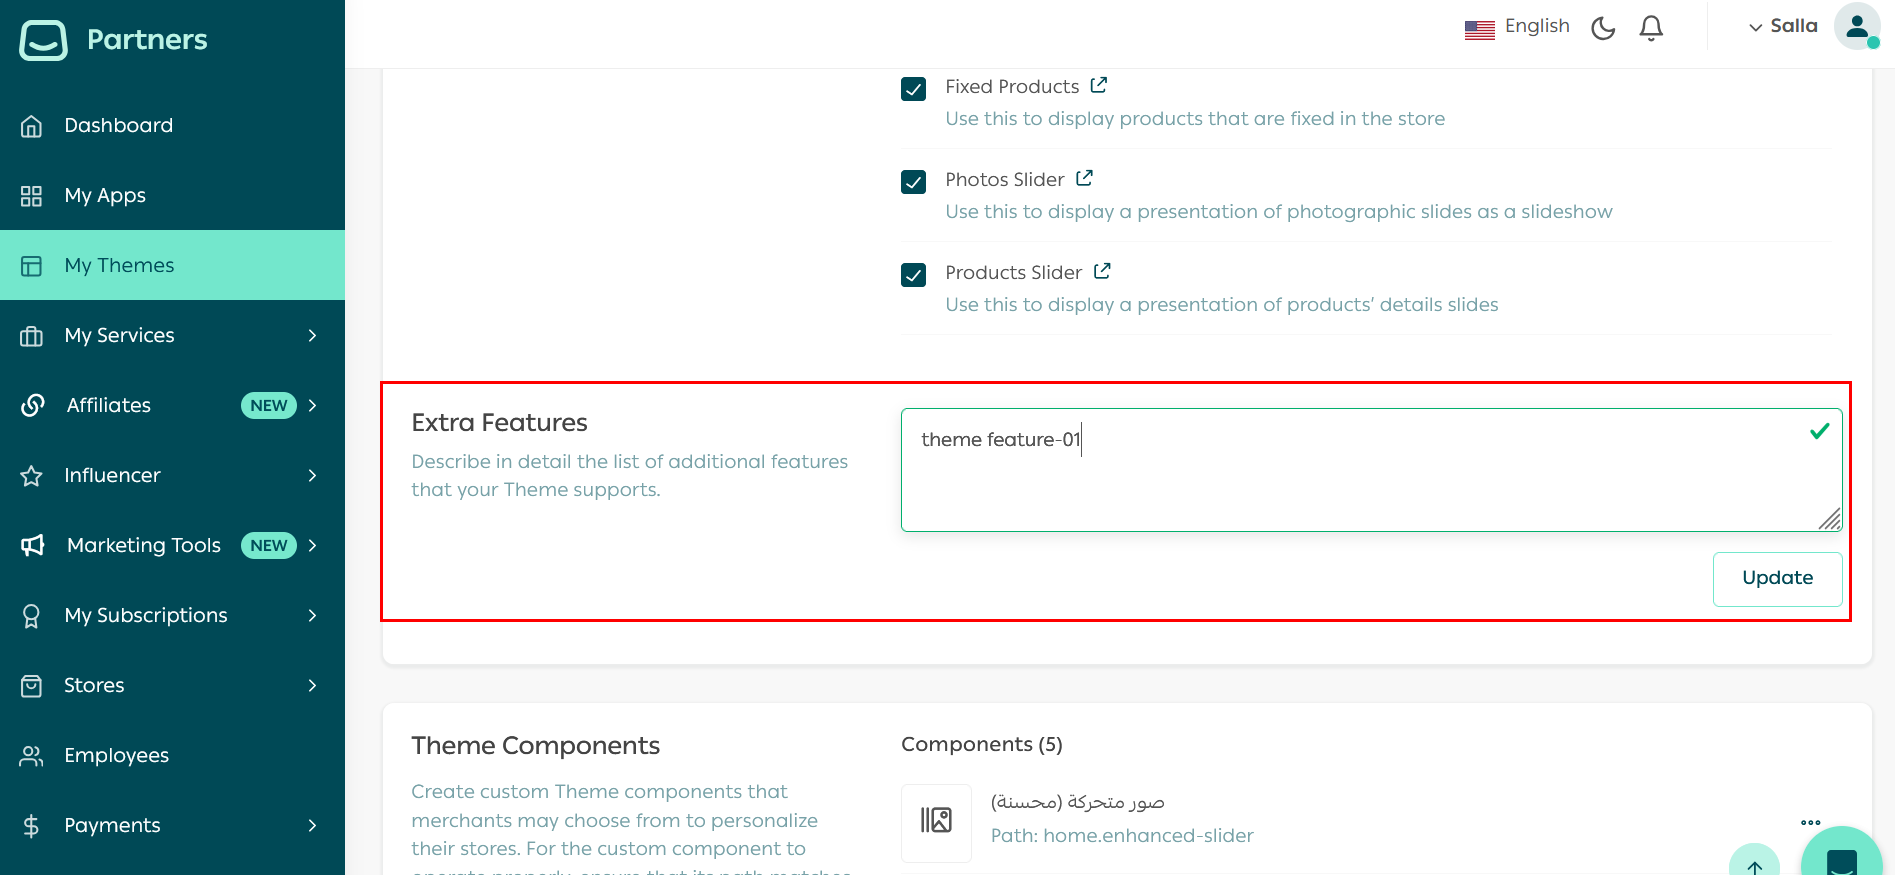
Mark the Theme features' checkboxes that make up the theme. That said, it is to be customizable from the Merchant side. Explore more about Theme Features here.If the developed Theme provides extra features, add each of them in a separate line in the field available.5 Theme Components#
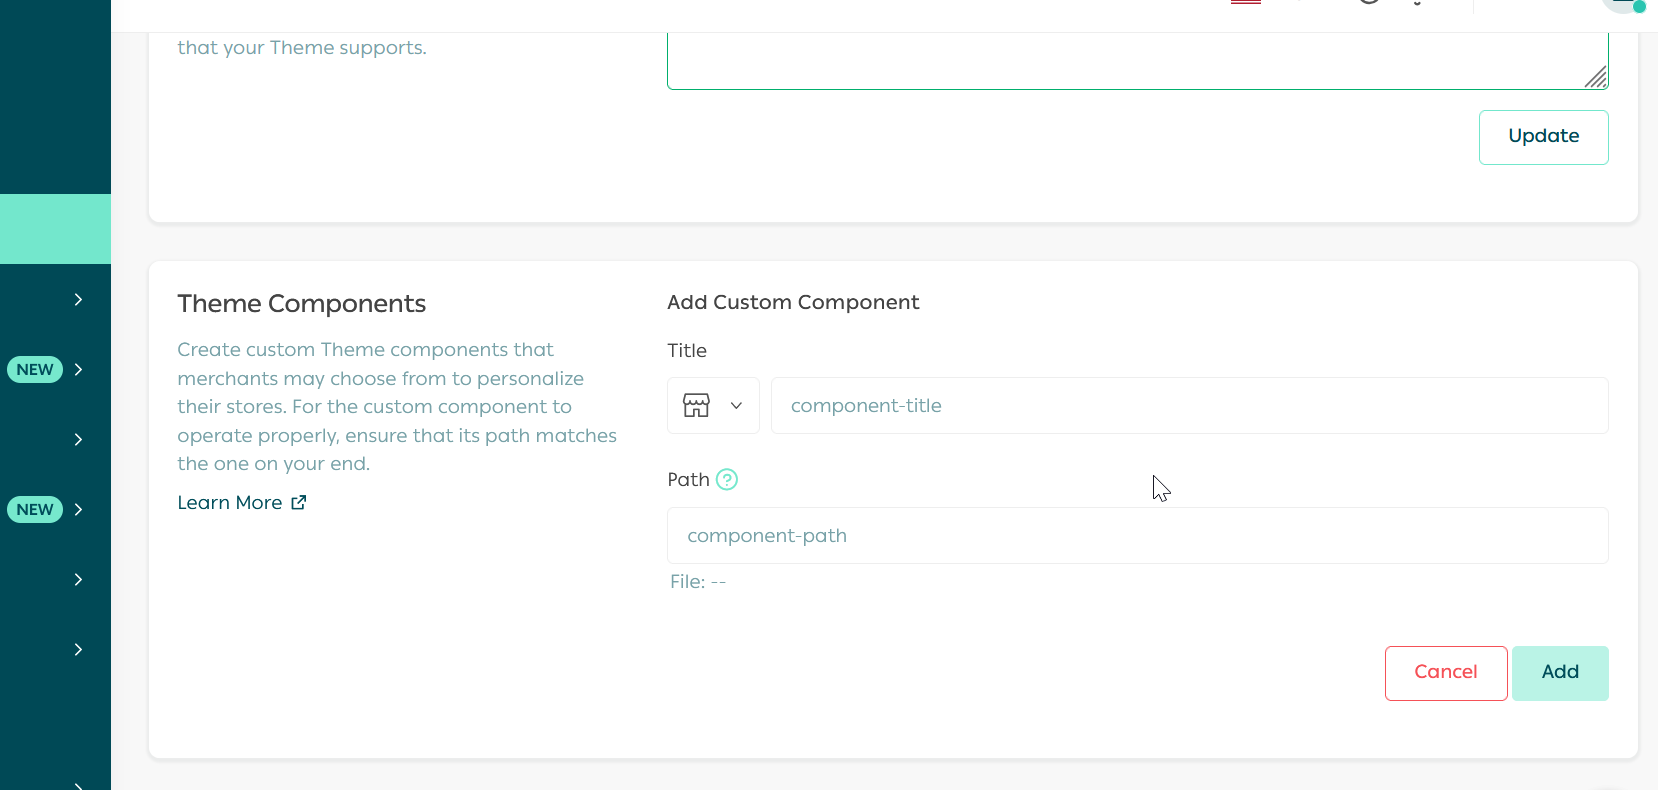
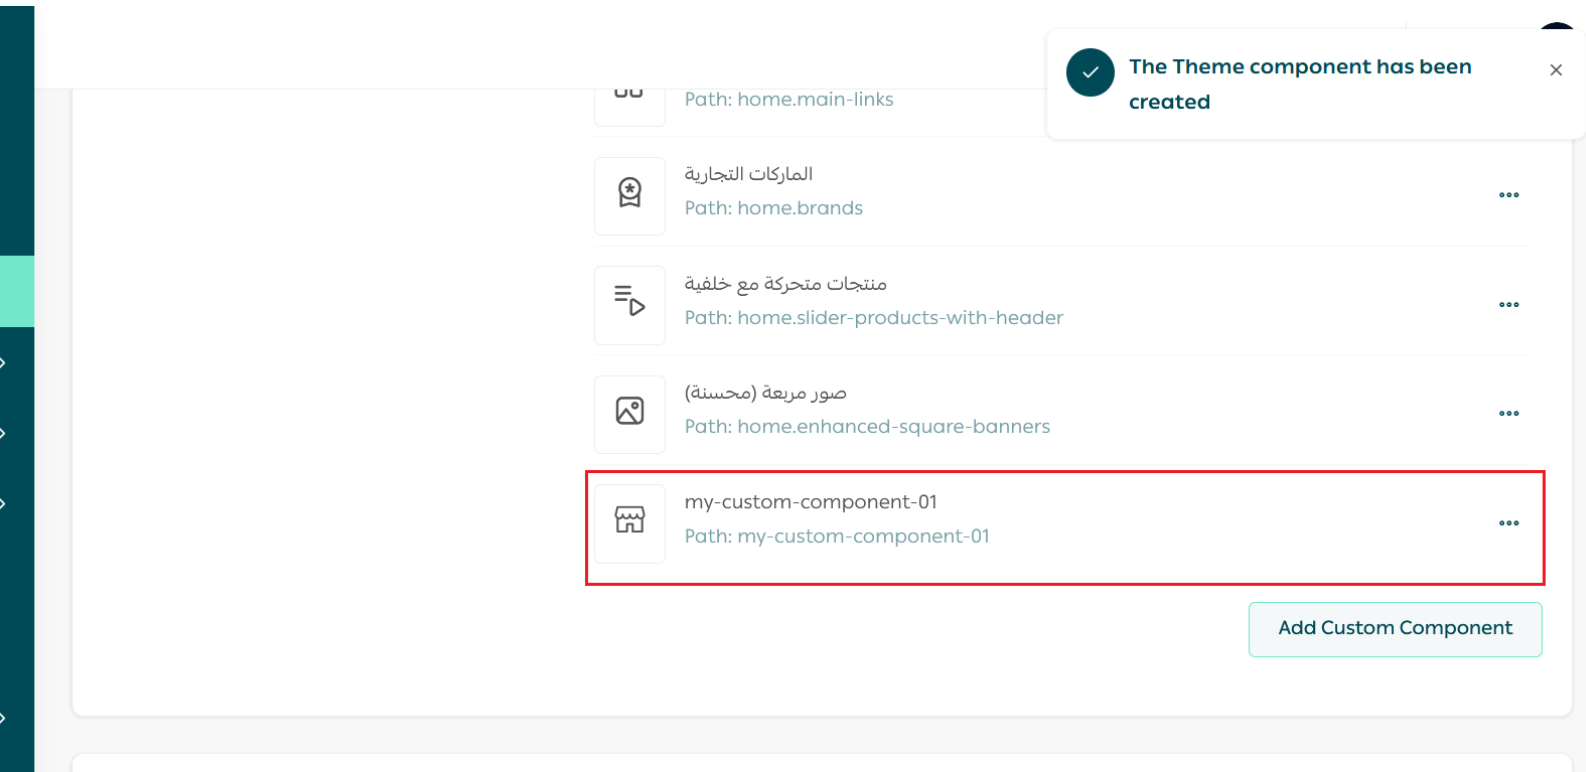
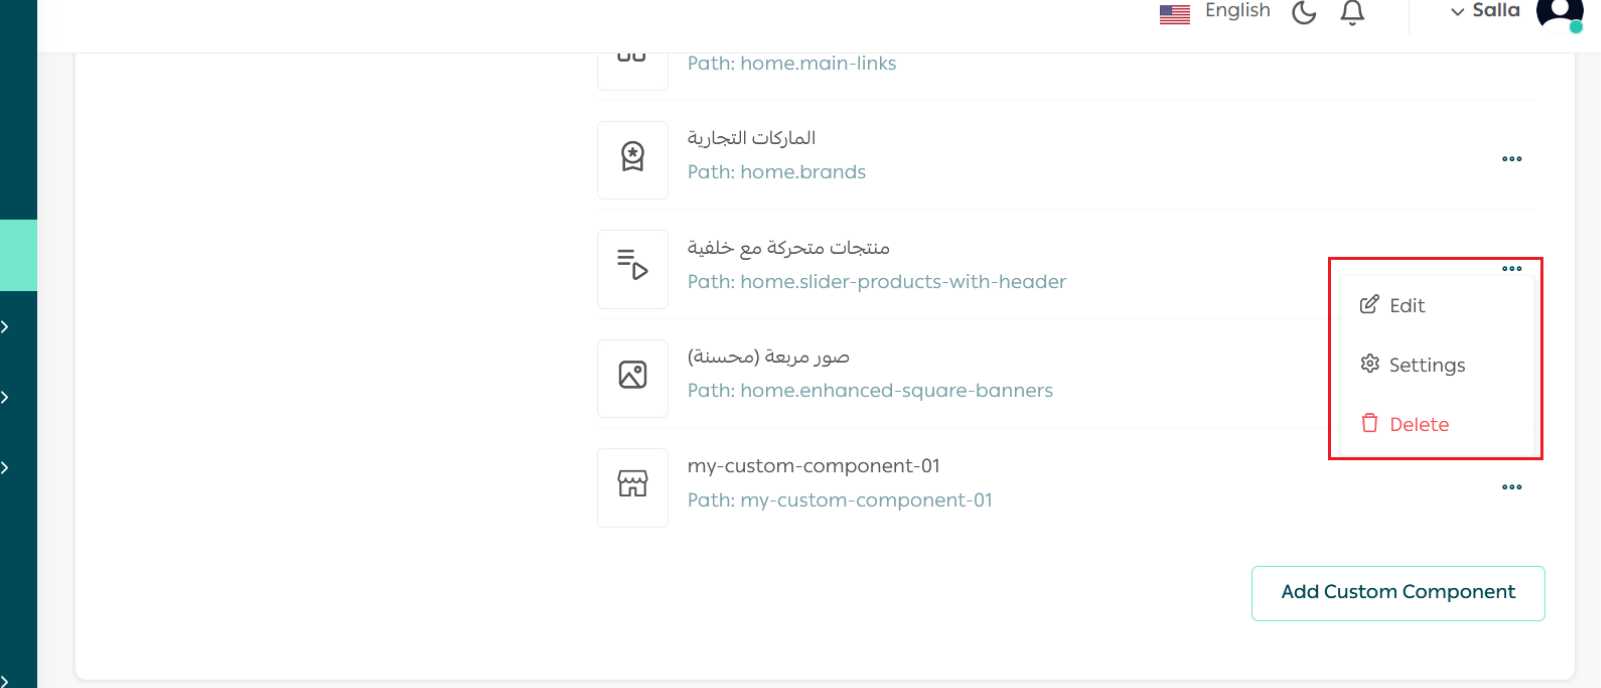
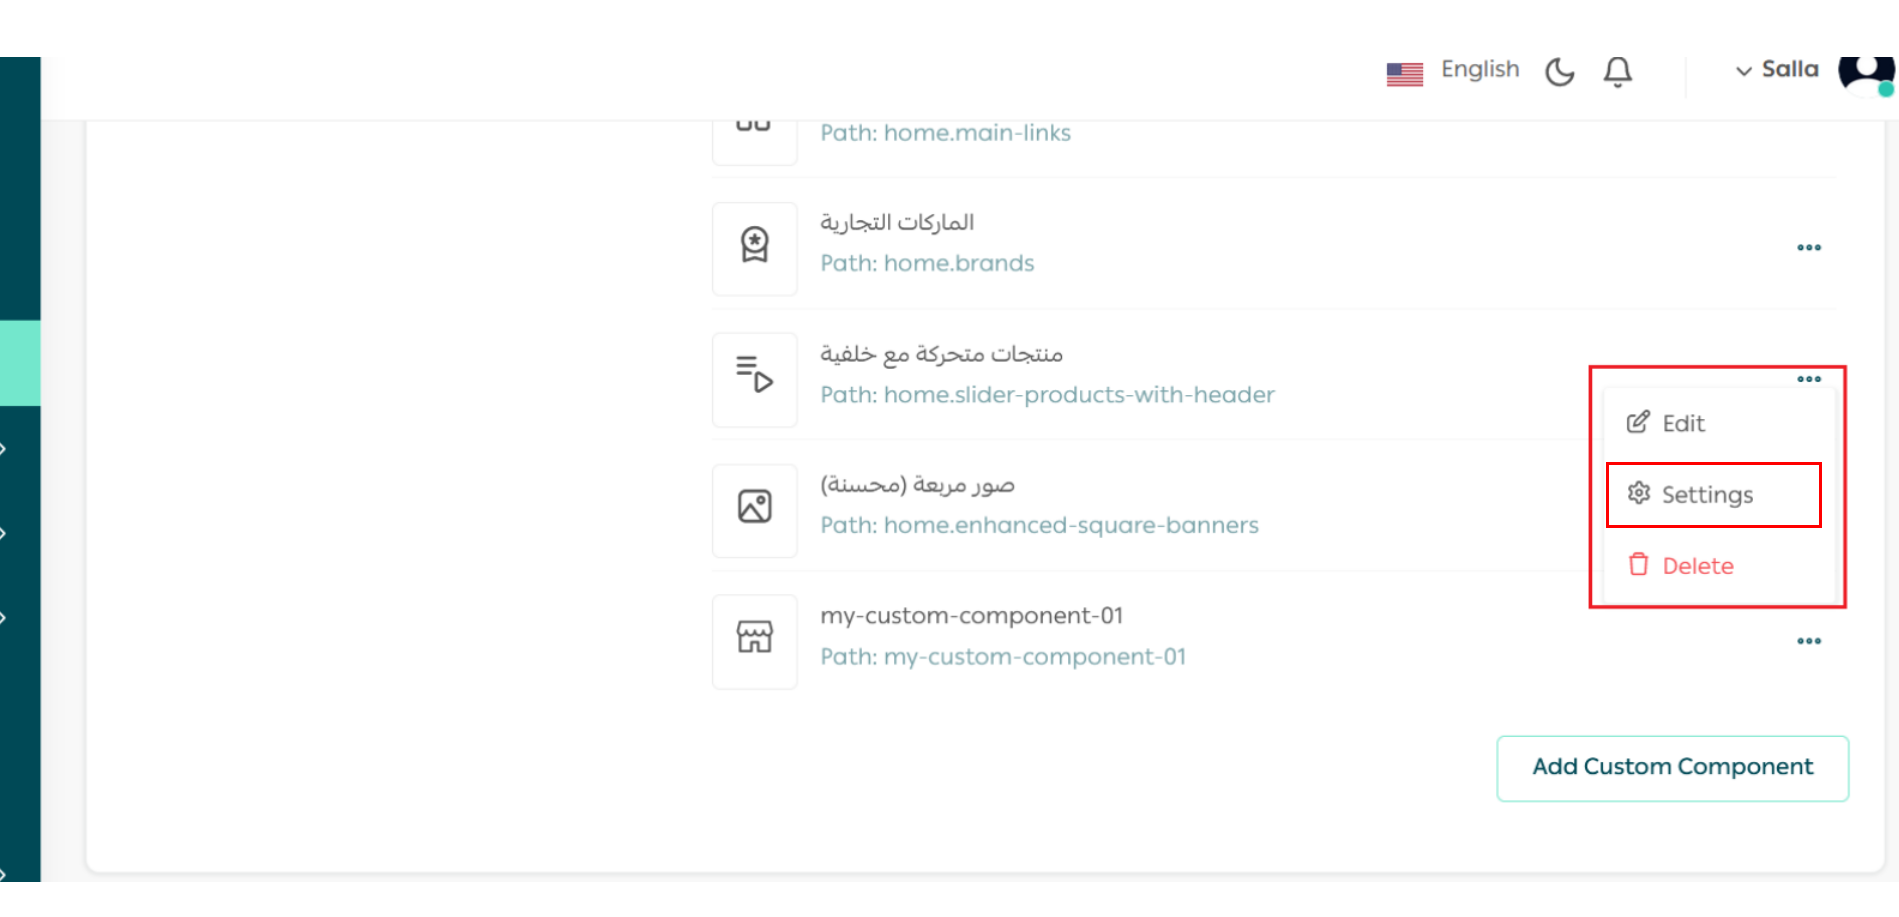
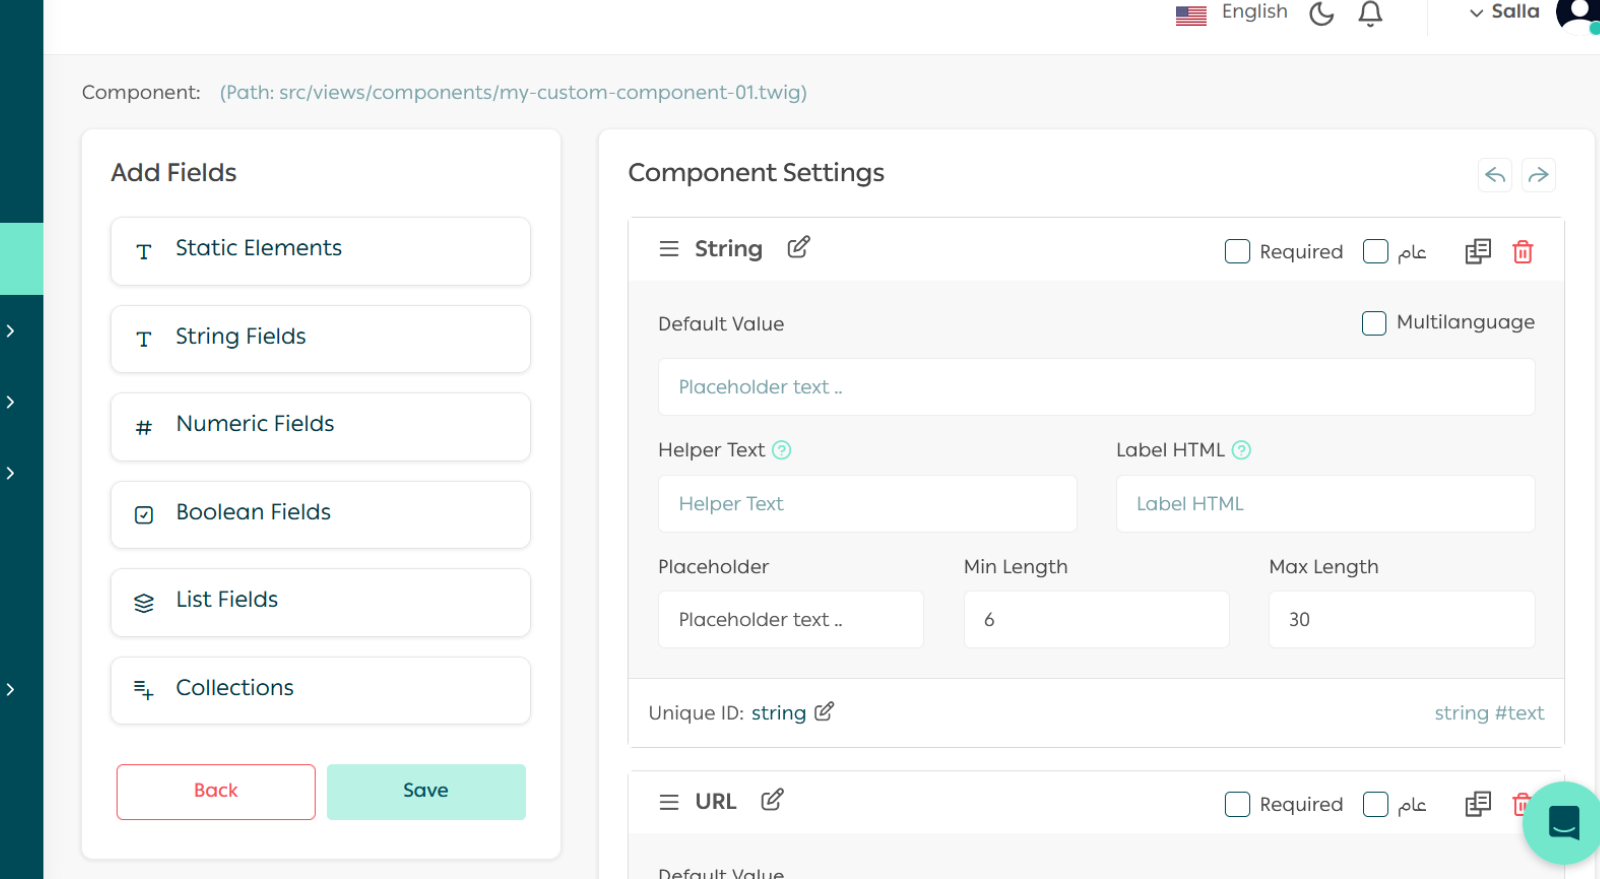
Add a custom component by clicking on "Add Custom Component". This kind of component is developed by the developer.Provide the details of the custom component in terms of the title, icon, and file path of the component.Edit and update the previously inputted basic information of the custom component, such as the title, icon, and file path. The pop dialog will showcase the fields to be updated.By going to the Settings page of the custom component, several setting fields can be added for that specific component.The custom components setting page will appear as follows, where it is easy to add the fields that customize the component in a drag & drop way, each with its own properties and functionalities that will be reflected on the Merchant side.6 Theme Preview#
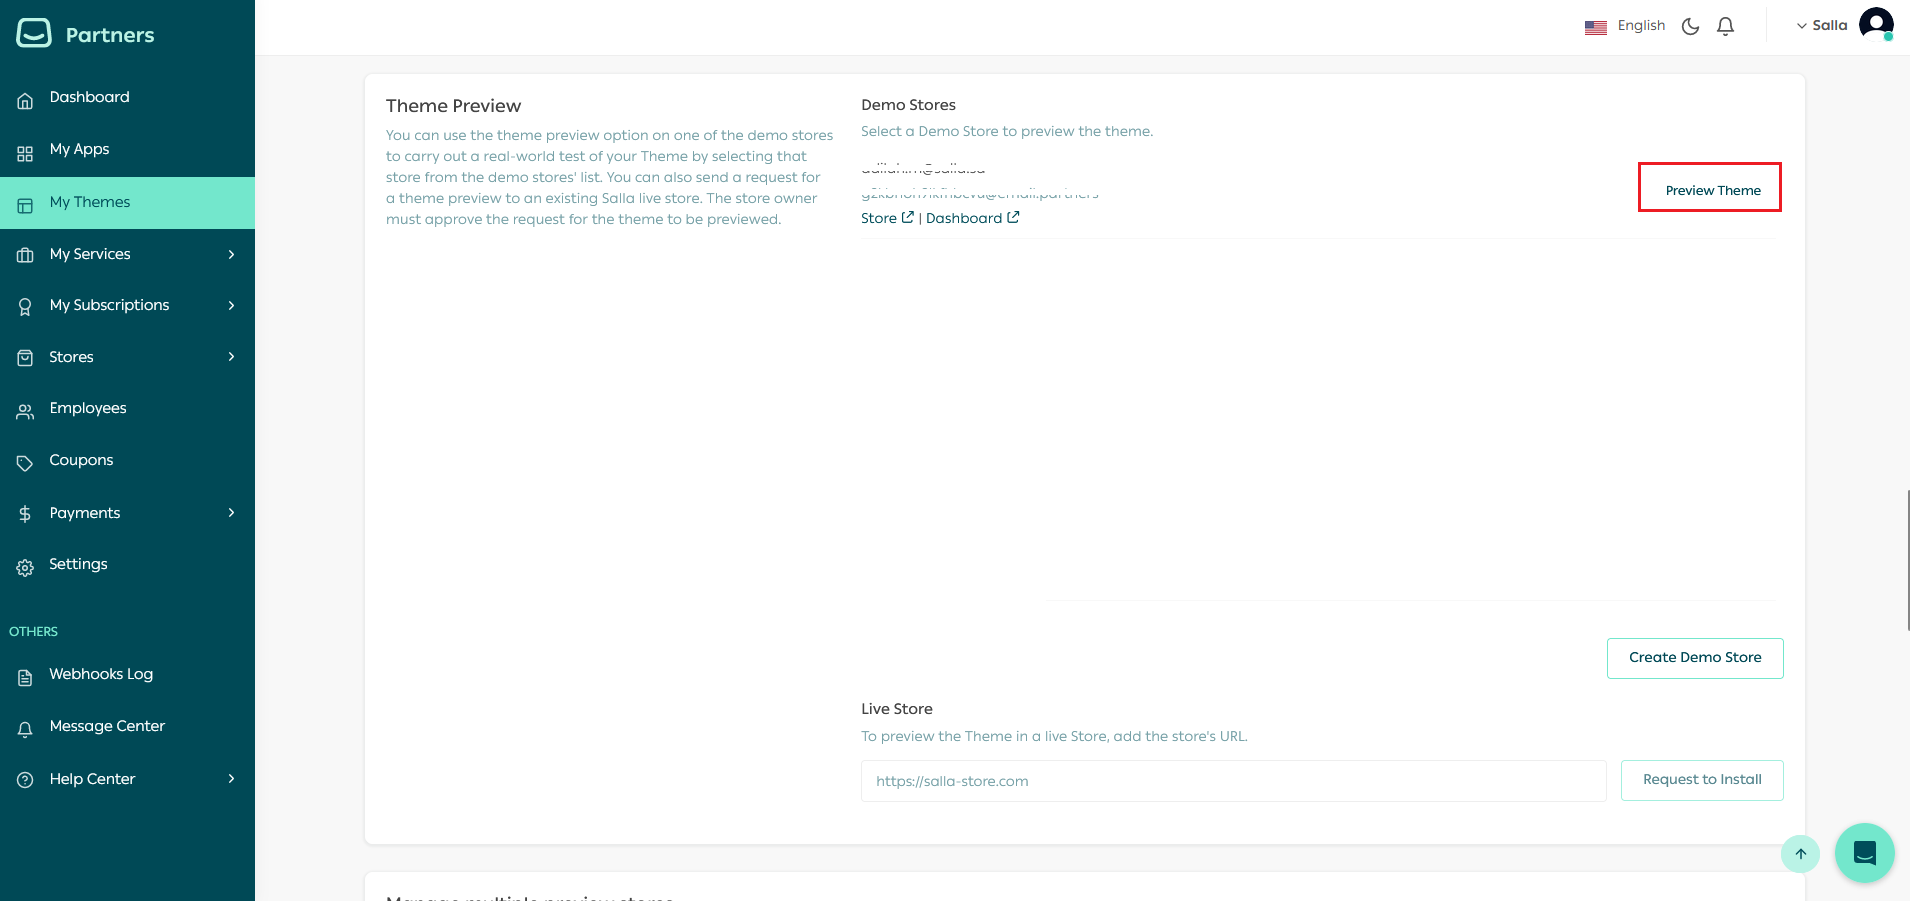
The Partners Portal provides this feature to preview the themes in a demo store for quality assurance, before submitting a publication request. Explore what is suitable and enjoy the progress so far while developing the theme.Create a new demo store, unless one is already created, and click on the "Preview Theme".On the demo dashboard, the theme will then be in the preview mode to which all the changes made to the theme, in terms of components, pre-defined and custom, and settings, will be reflected.🖥️ Salla CLI, which is a command-line tool developed by Salla team, can be used to preview a theme. 7 Theme Details#
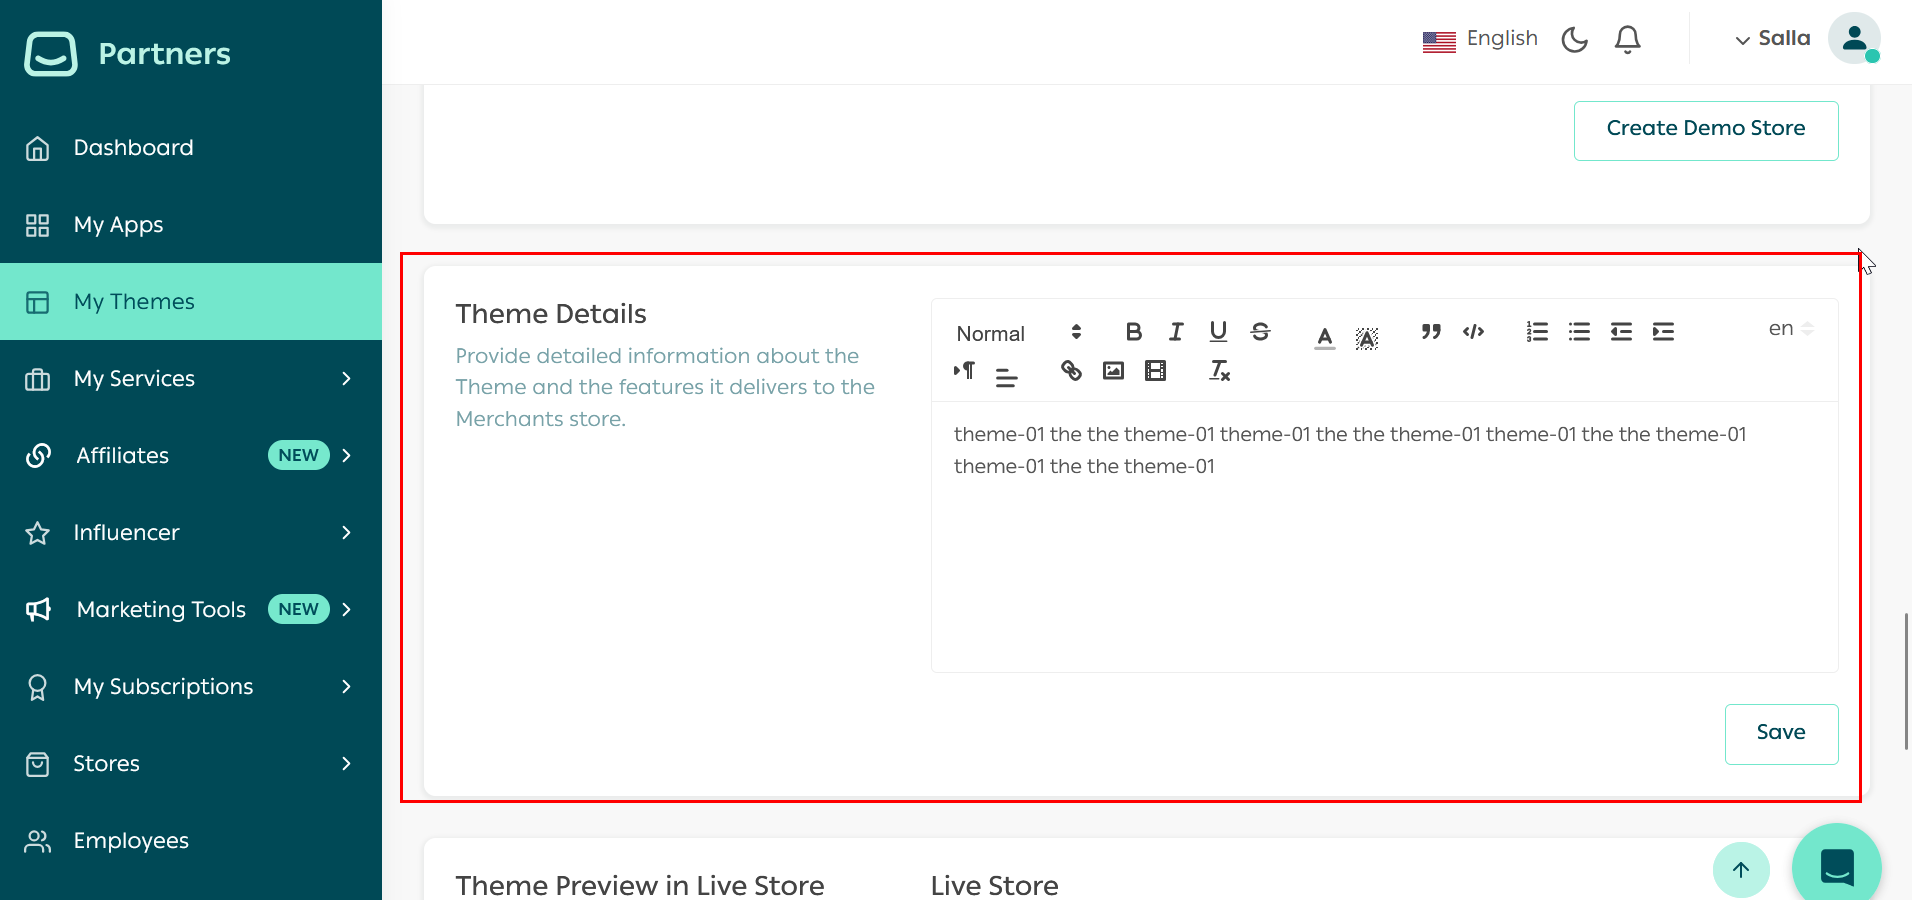
Write details about the Theme to grab the attention of the Merchants, which will be apparent in the Store Themes Marketplace.8 Theme Preview in Live Store#
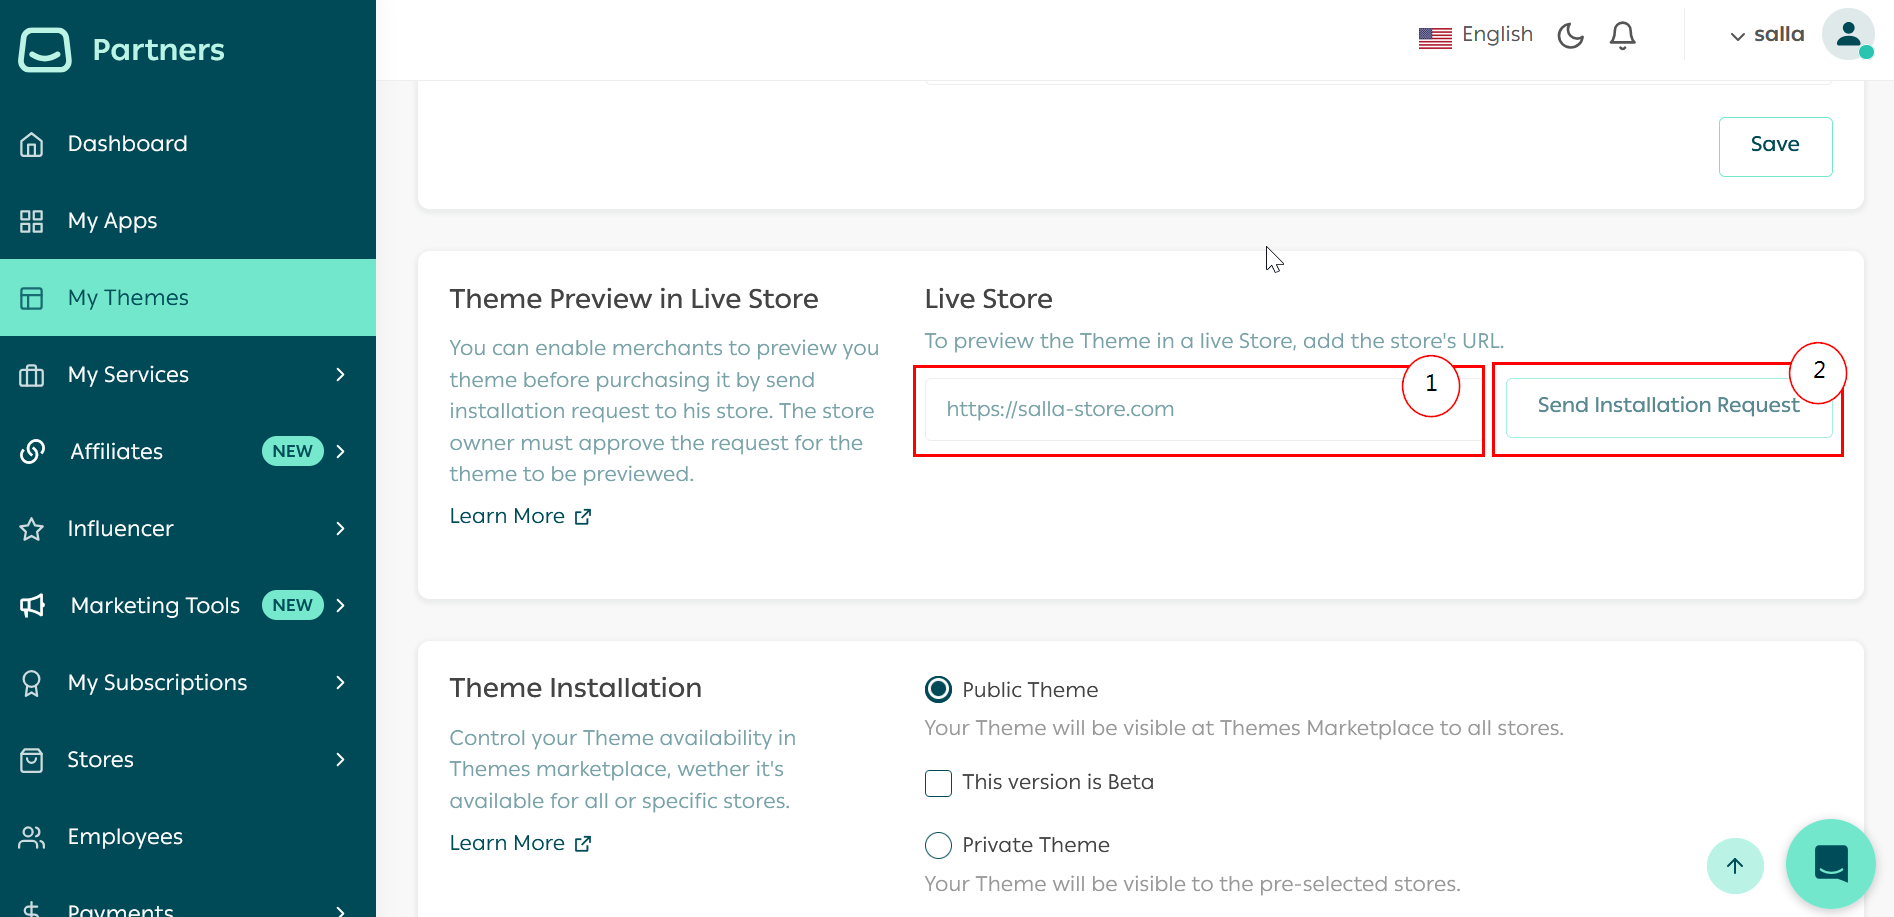
You can preview the theme on live stores by adding the store link then clicking on "sending the installation request" button.9 Theme Installation#
The developer can decide the Theme installation methods as follows:a. By ticking this option, the devloper indicates that the theme is public an available for all stores.
b. By ticking this option,the theme is beta and under development.
c. By ticking this option, the theme is private and can only be installed by.installation link
d. In this box, the developer can copy the theme installation link for store to install it via installation linkBy getting here you have successfully completed theme setup. Modified at 2025-03-04 12:54:02